

Posted by Henri Pereira on 2nd Dec 2021
SANDPONICS IS AQUAPONICS ON STEROIDS - HOW TO BUILD YOUR OWN SANDPONICS OR SANDGARDEN SYSTEM
We have recently converted our old DWC (Deep Water Culture) Aquaponics system into Sandponics, also referred to as IAVS (Integrated Aqua Vegeculture System). The DWC aquaponics served us well for over 4 years, but the wooden frames had started to rot and it was time for change.
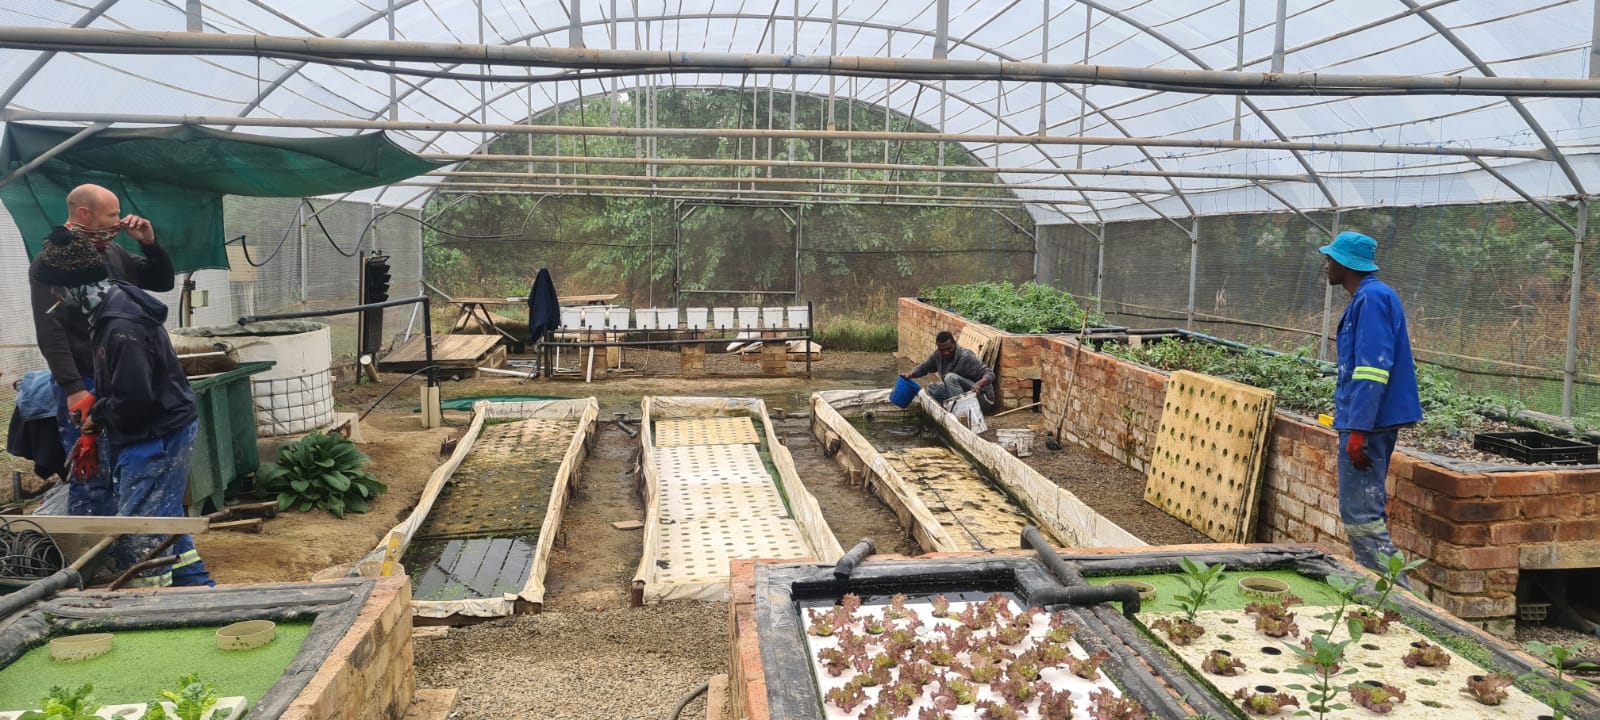
The results from the new Sandponics system have been exceptional, and in this blog we share our Journey.
What is Sandponics
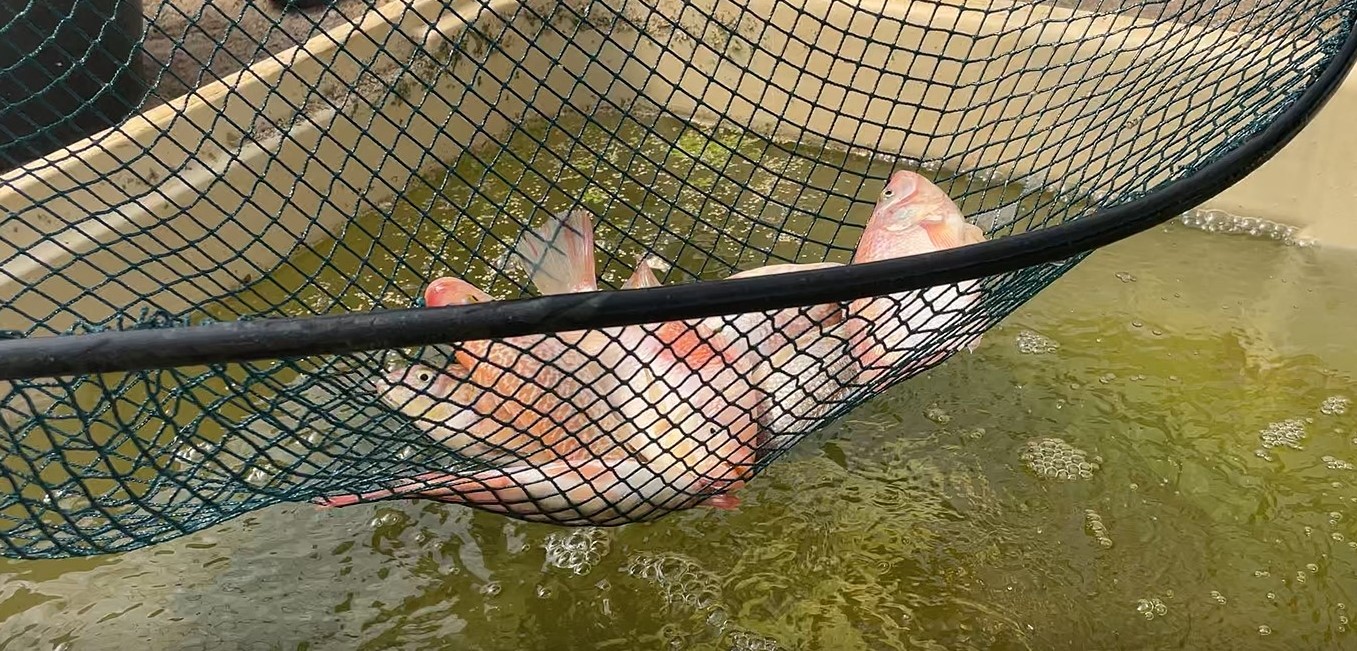
Sandponics, like aquaponics, uses fish to create ammonia that then gets converted to nitrates by beneficial bacteria, thats erves as food for the plants. The main difference when compared to Aquaponics, is that it does not require separate mechanical and Bio filters. The sand in Sandponics acts both as a mechanical filter and a biofilter.
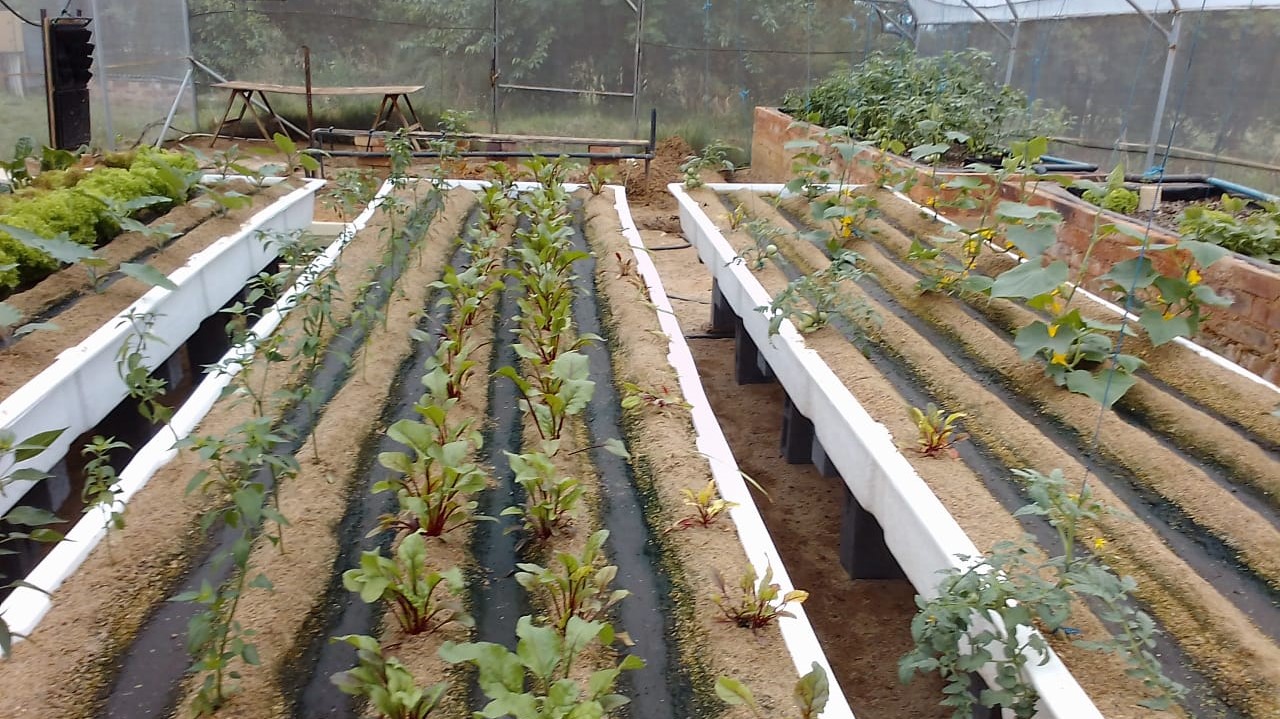
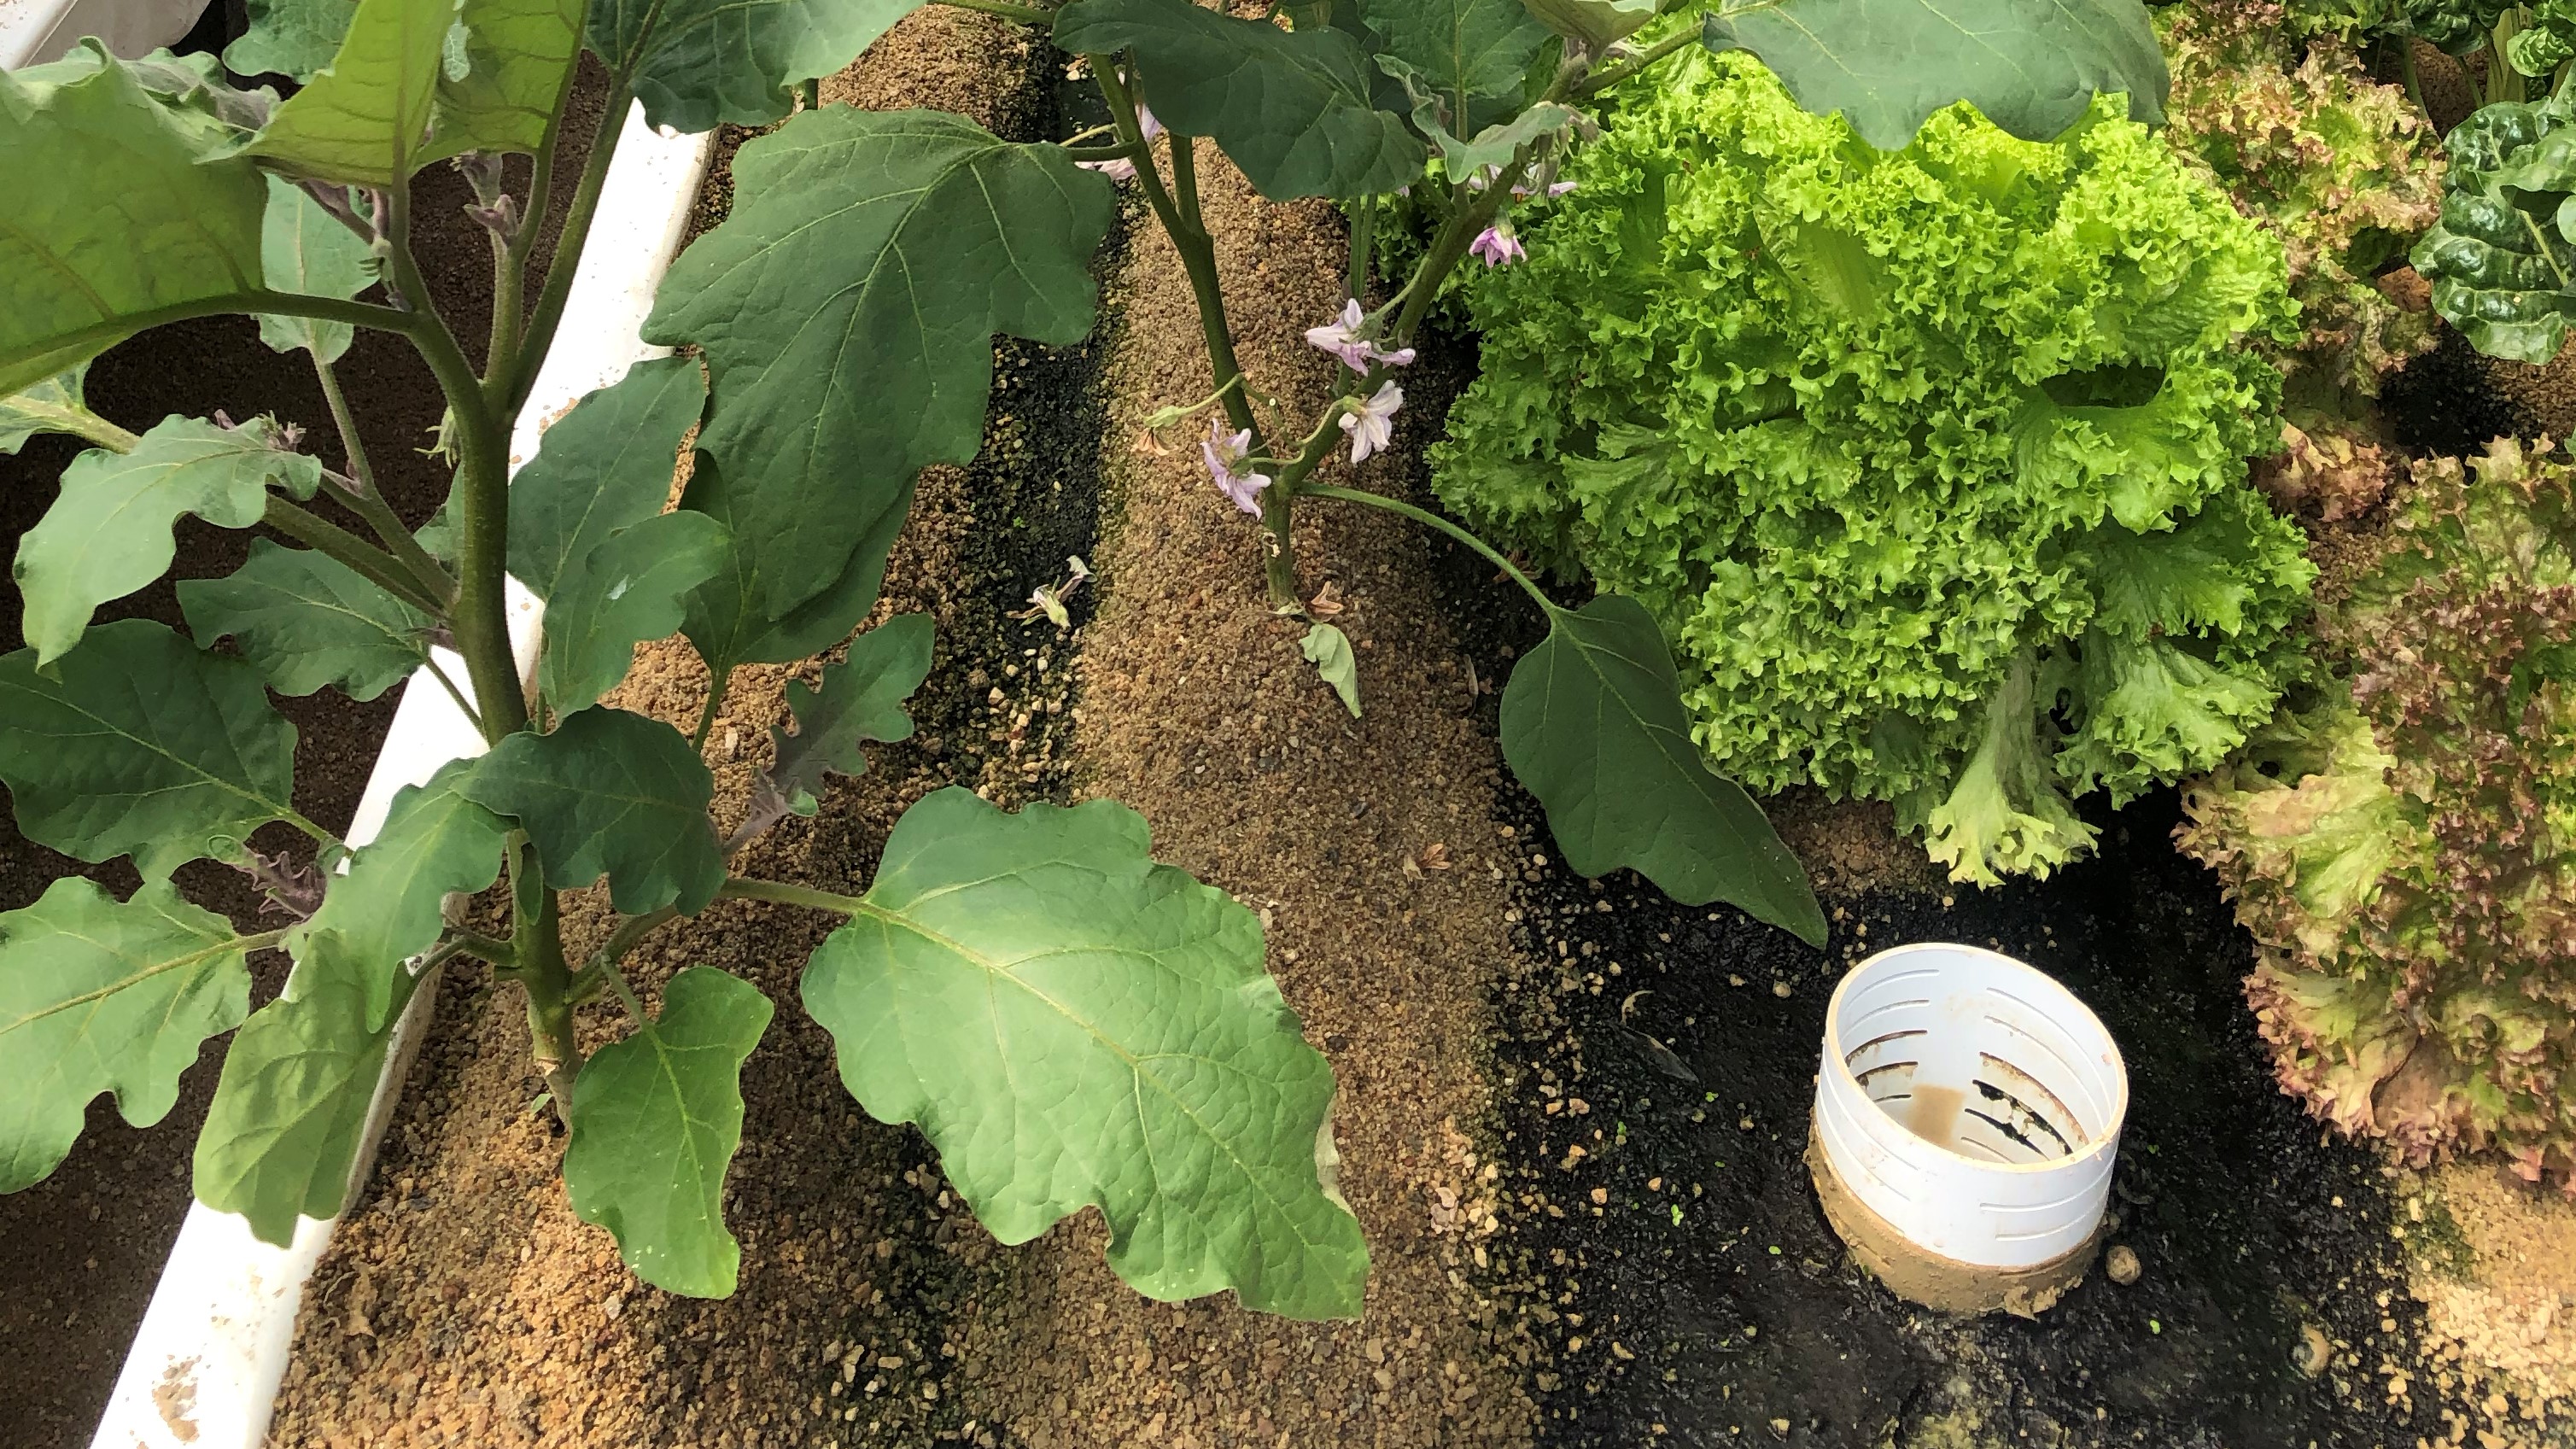
The plants are planted on the ridges moulded on the sand so that roots get enough aeration, as well as hydration, from water below the furrows
What is required to Build a Sandponics System?
A Sandponics systems requires the following components:
- A Fish Tank
- Plant Grow Beds (Fiberglass grow beds makes it easier to Install and reduces labour costs)
- Suitable Sand for the Plant Grow Beds
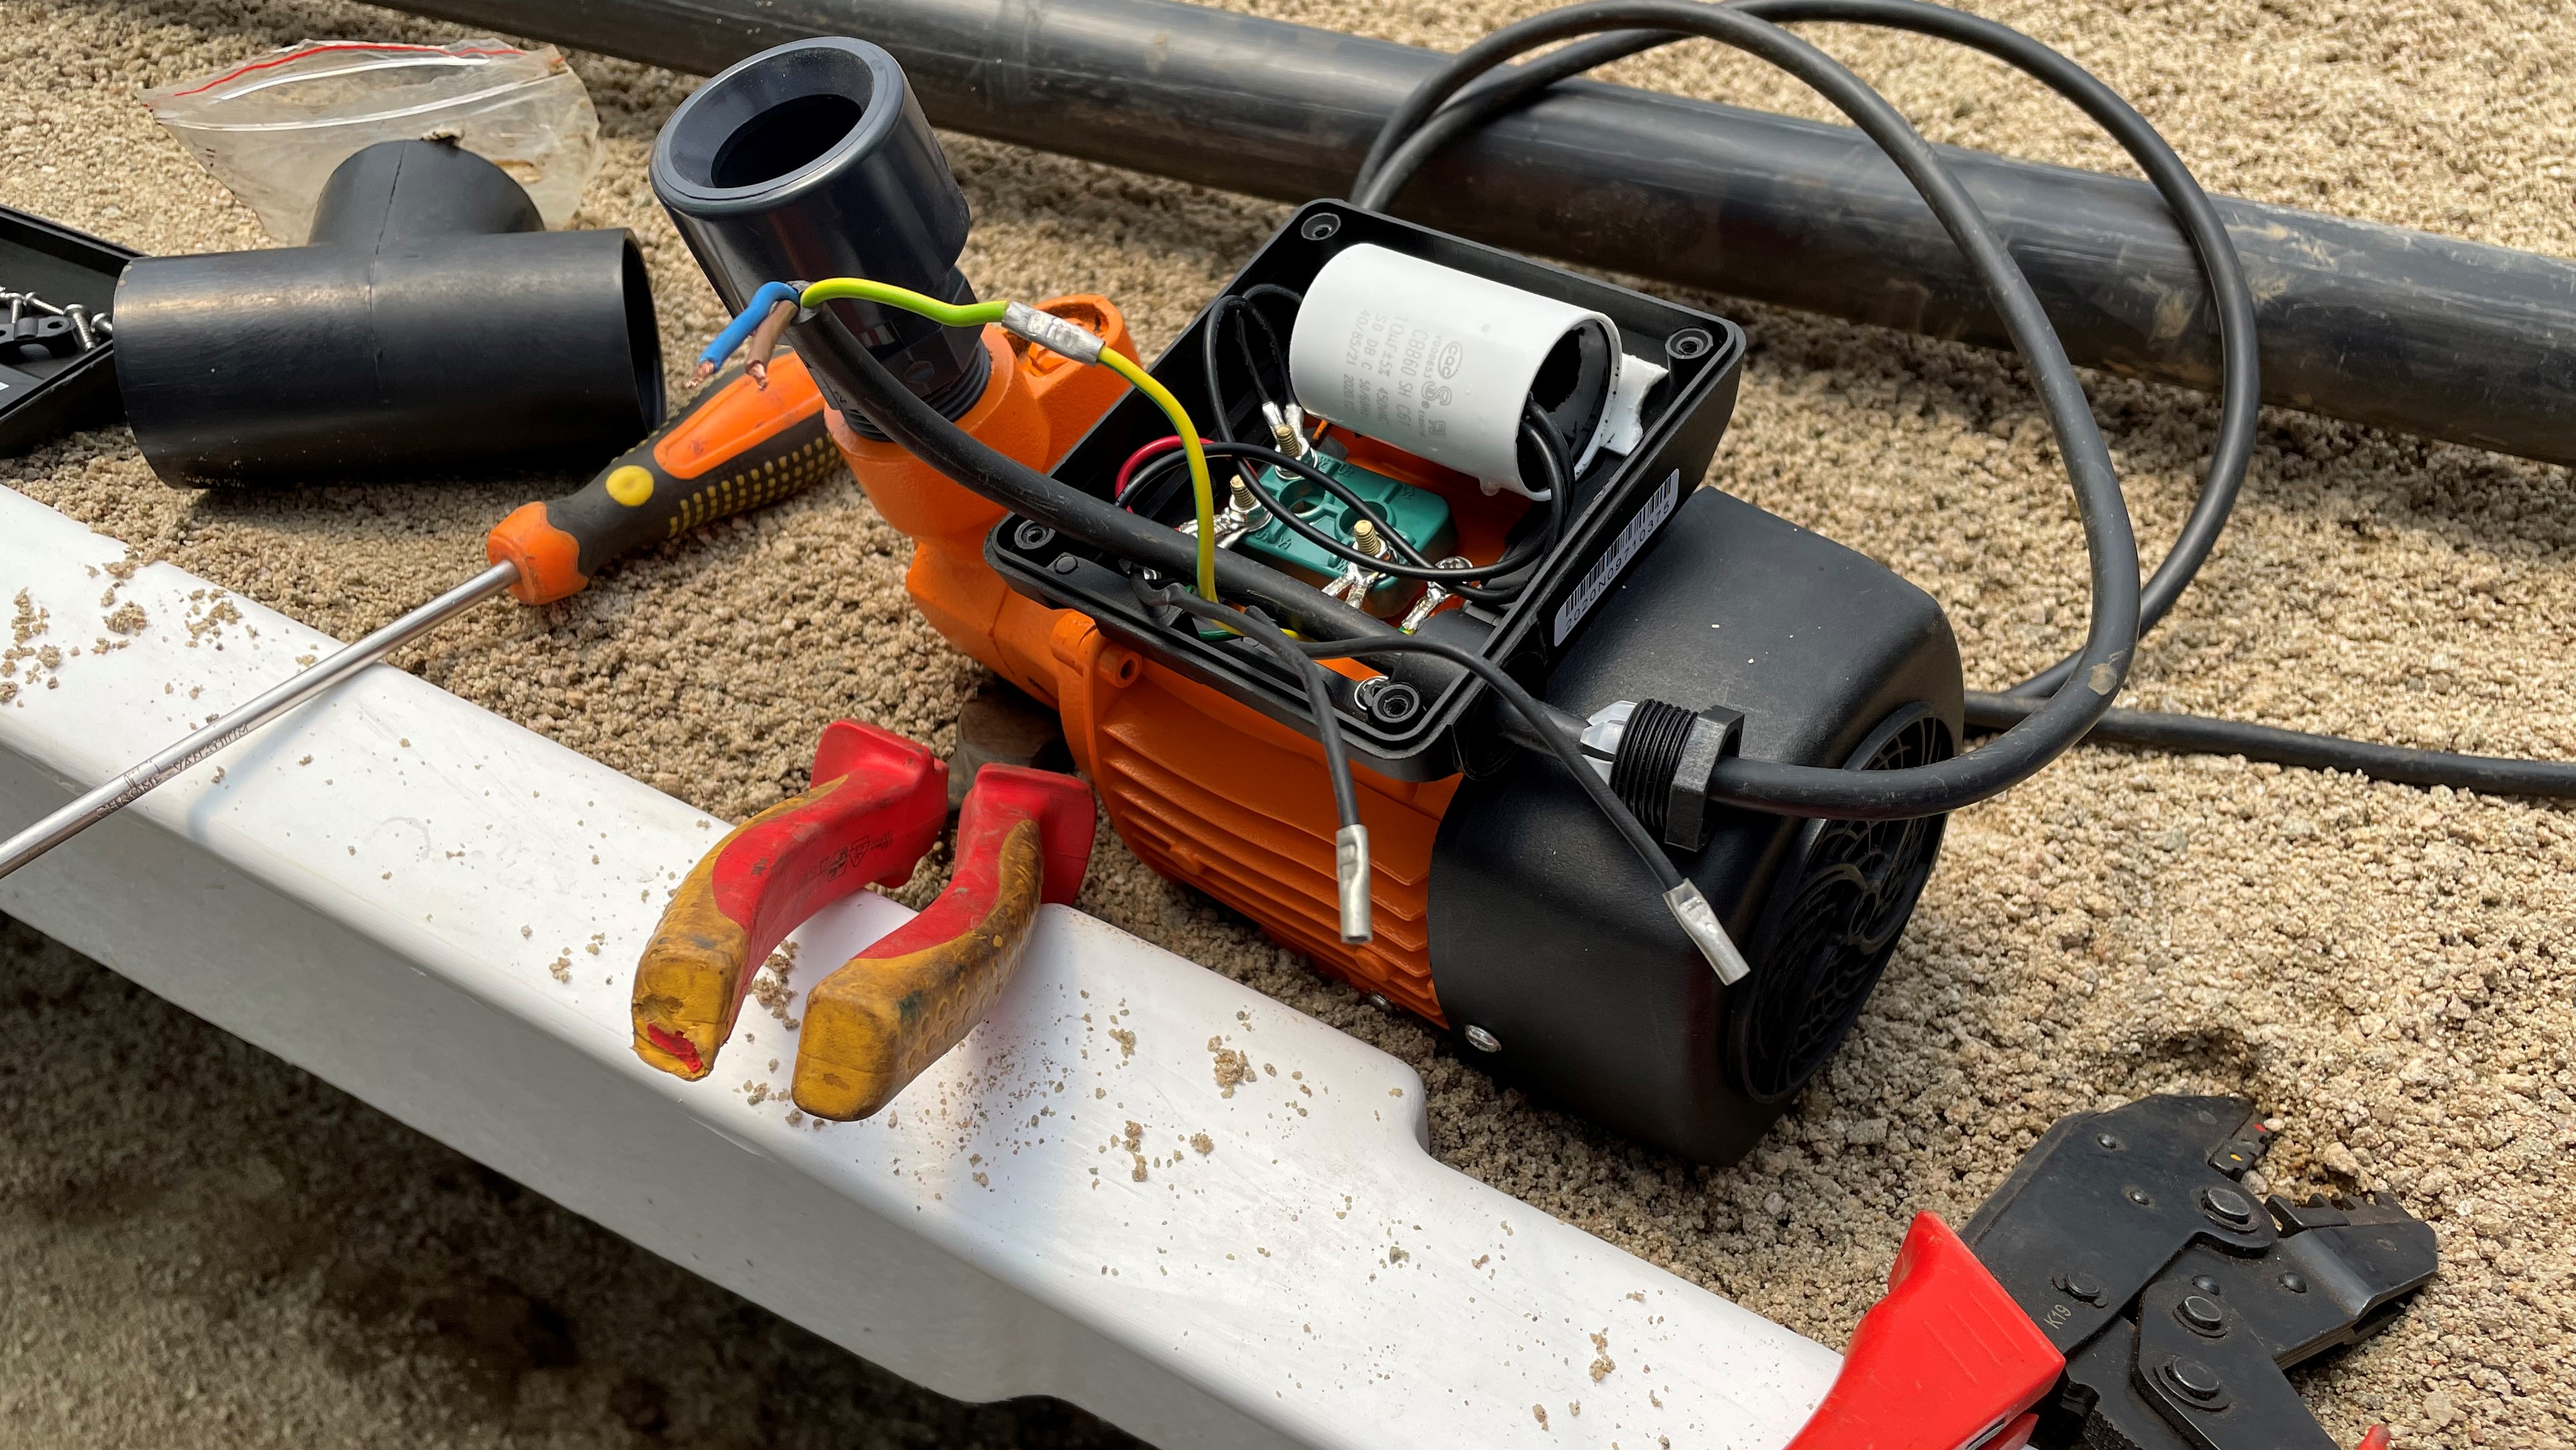
- Water Pump
- Air Pump and Air stones
- Digital Timer
- Pipes & Fittings
- Blocks of Frames to raise the plant grow beds if required
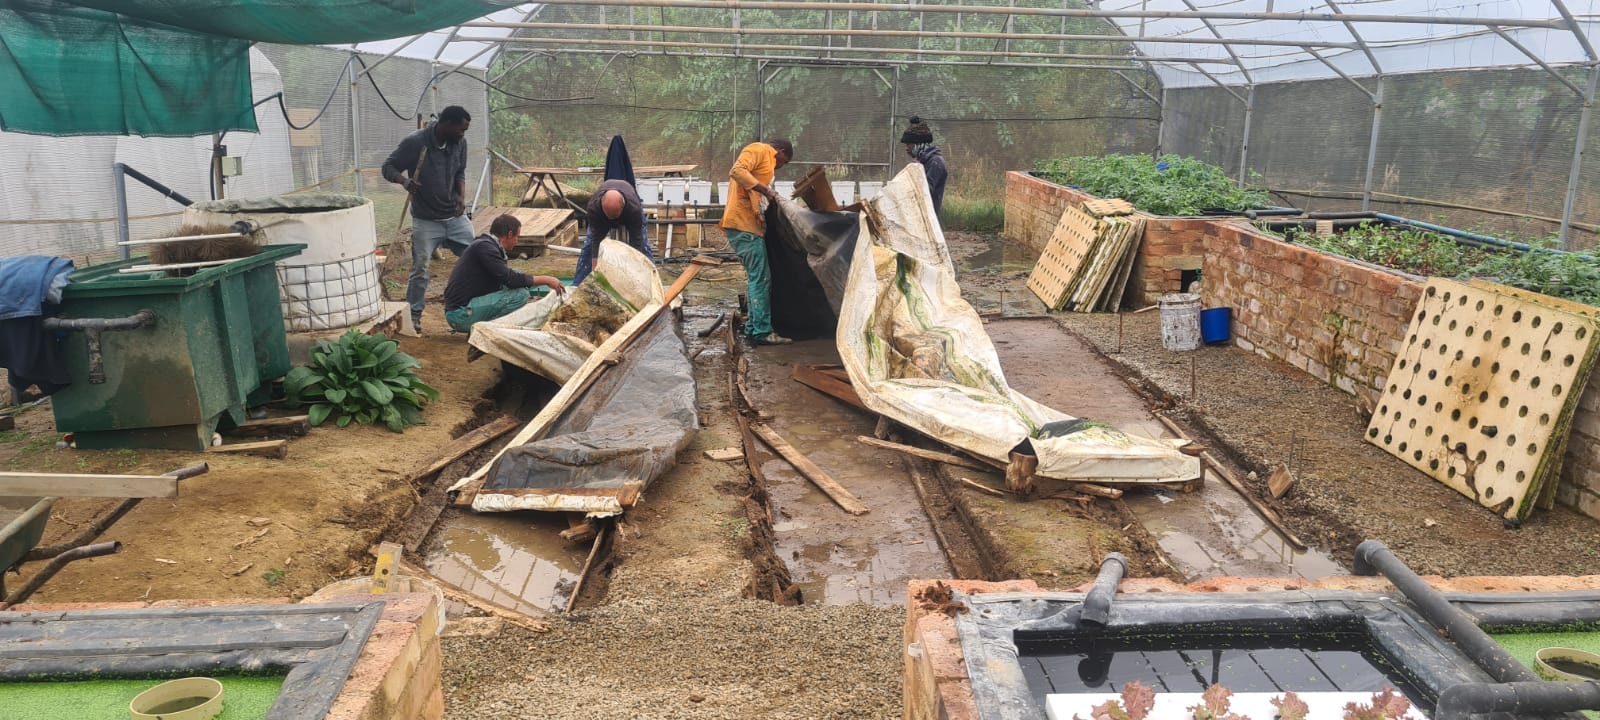
Day 1 of our Journey
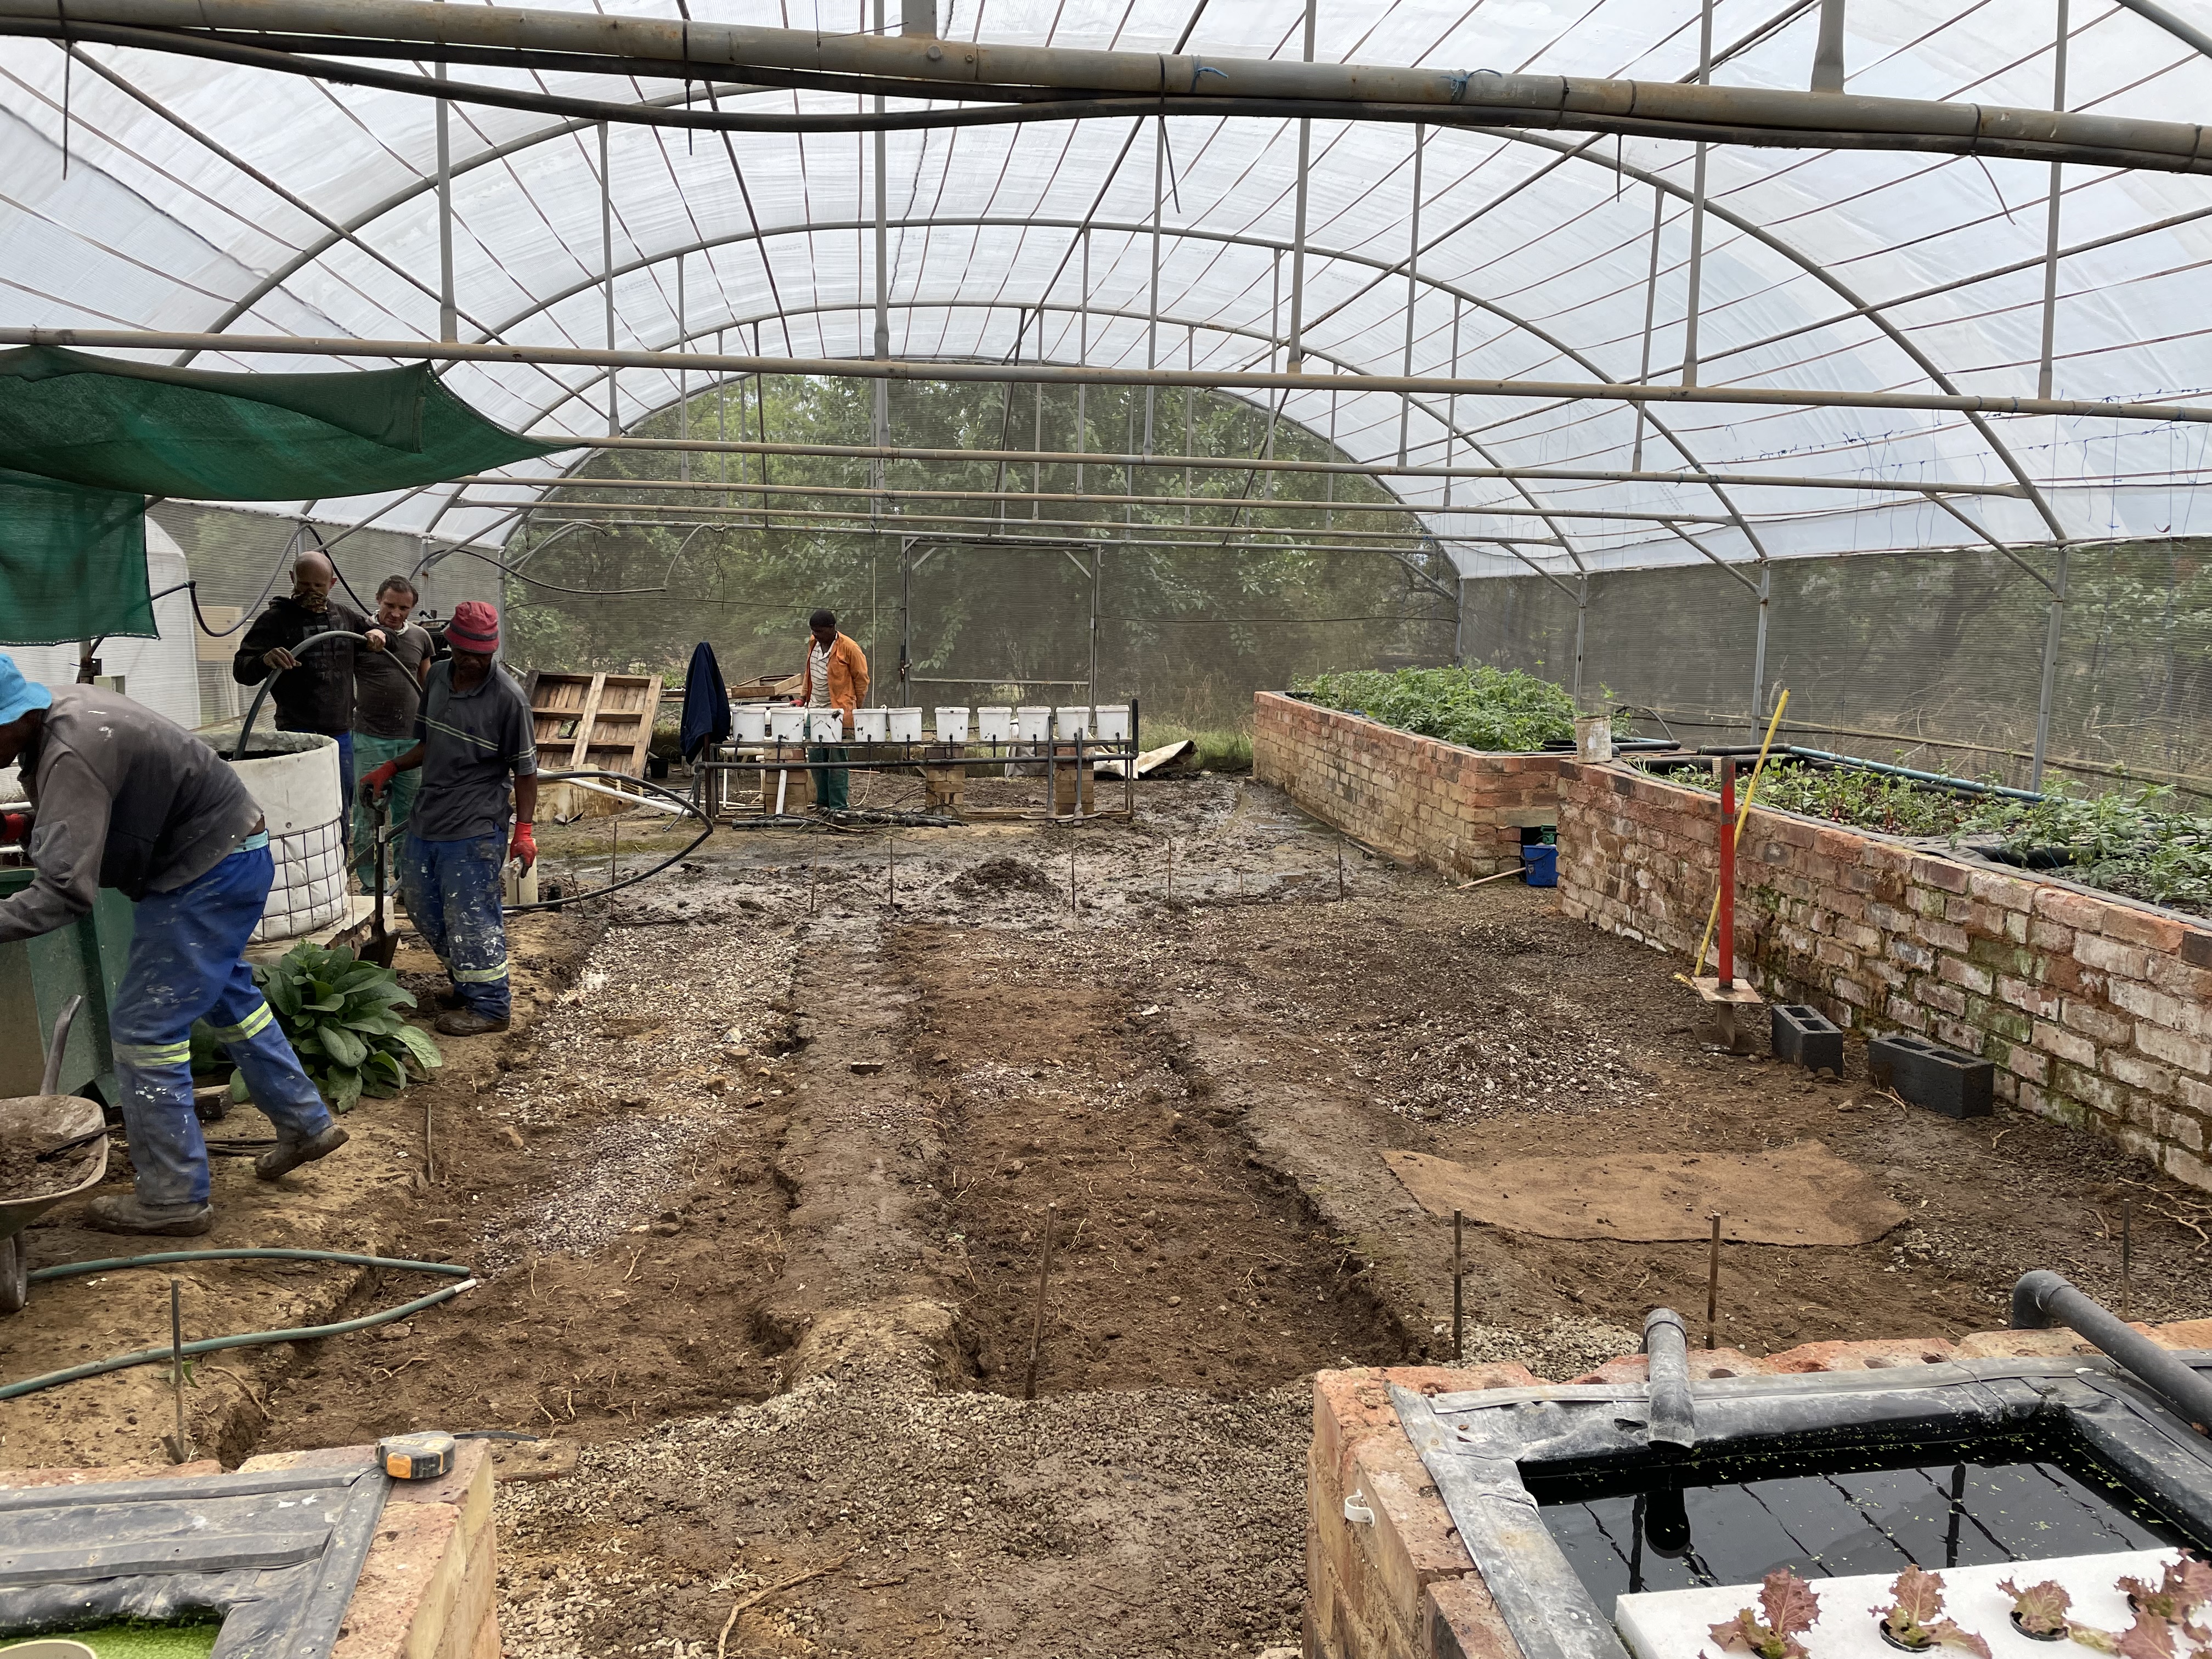
We first had to remove the old DWC aquaponics system. That was the easy part, but then the challenges started once we had to level and compact the ground. Due to a high water table, we had to add a lot of cement and sand to stabilize the ground. Took us a whole day of hard work, but mission accomplished.
Day 2
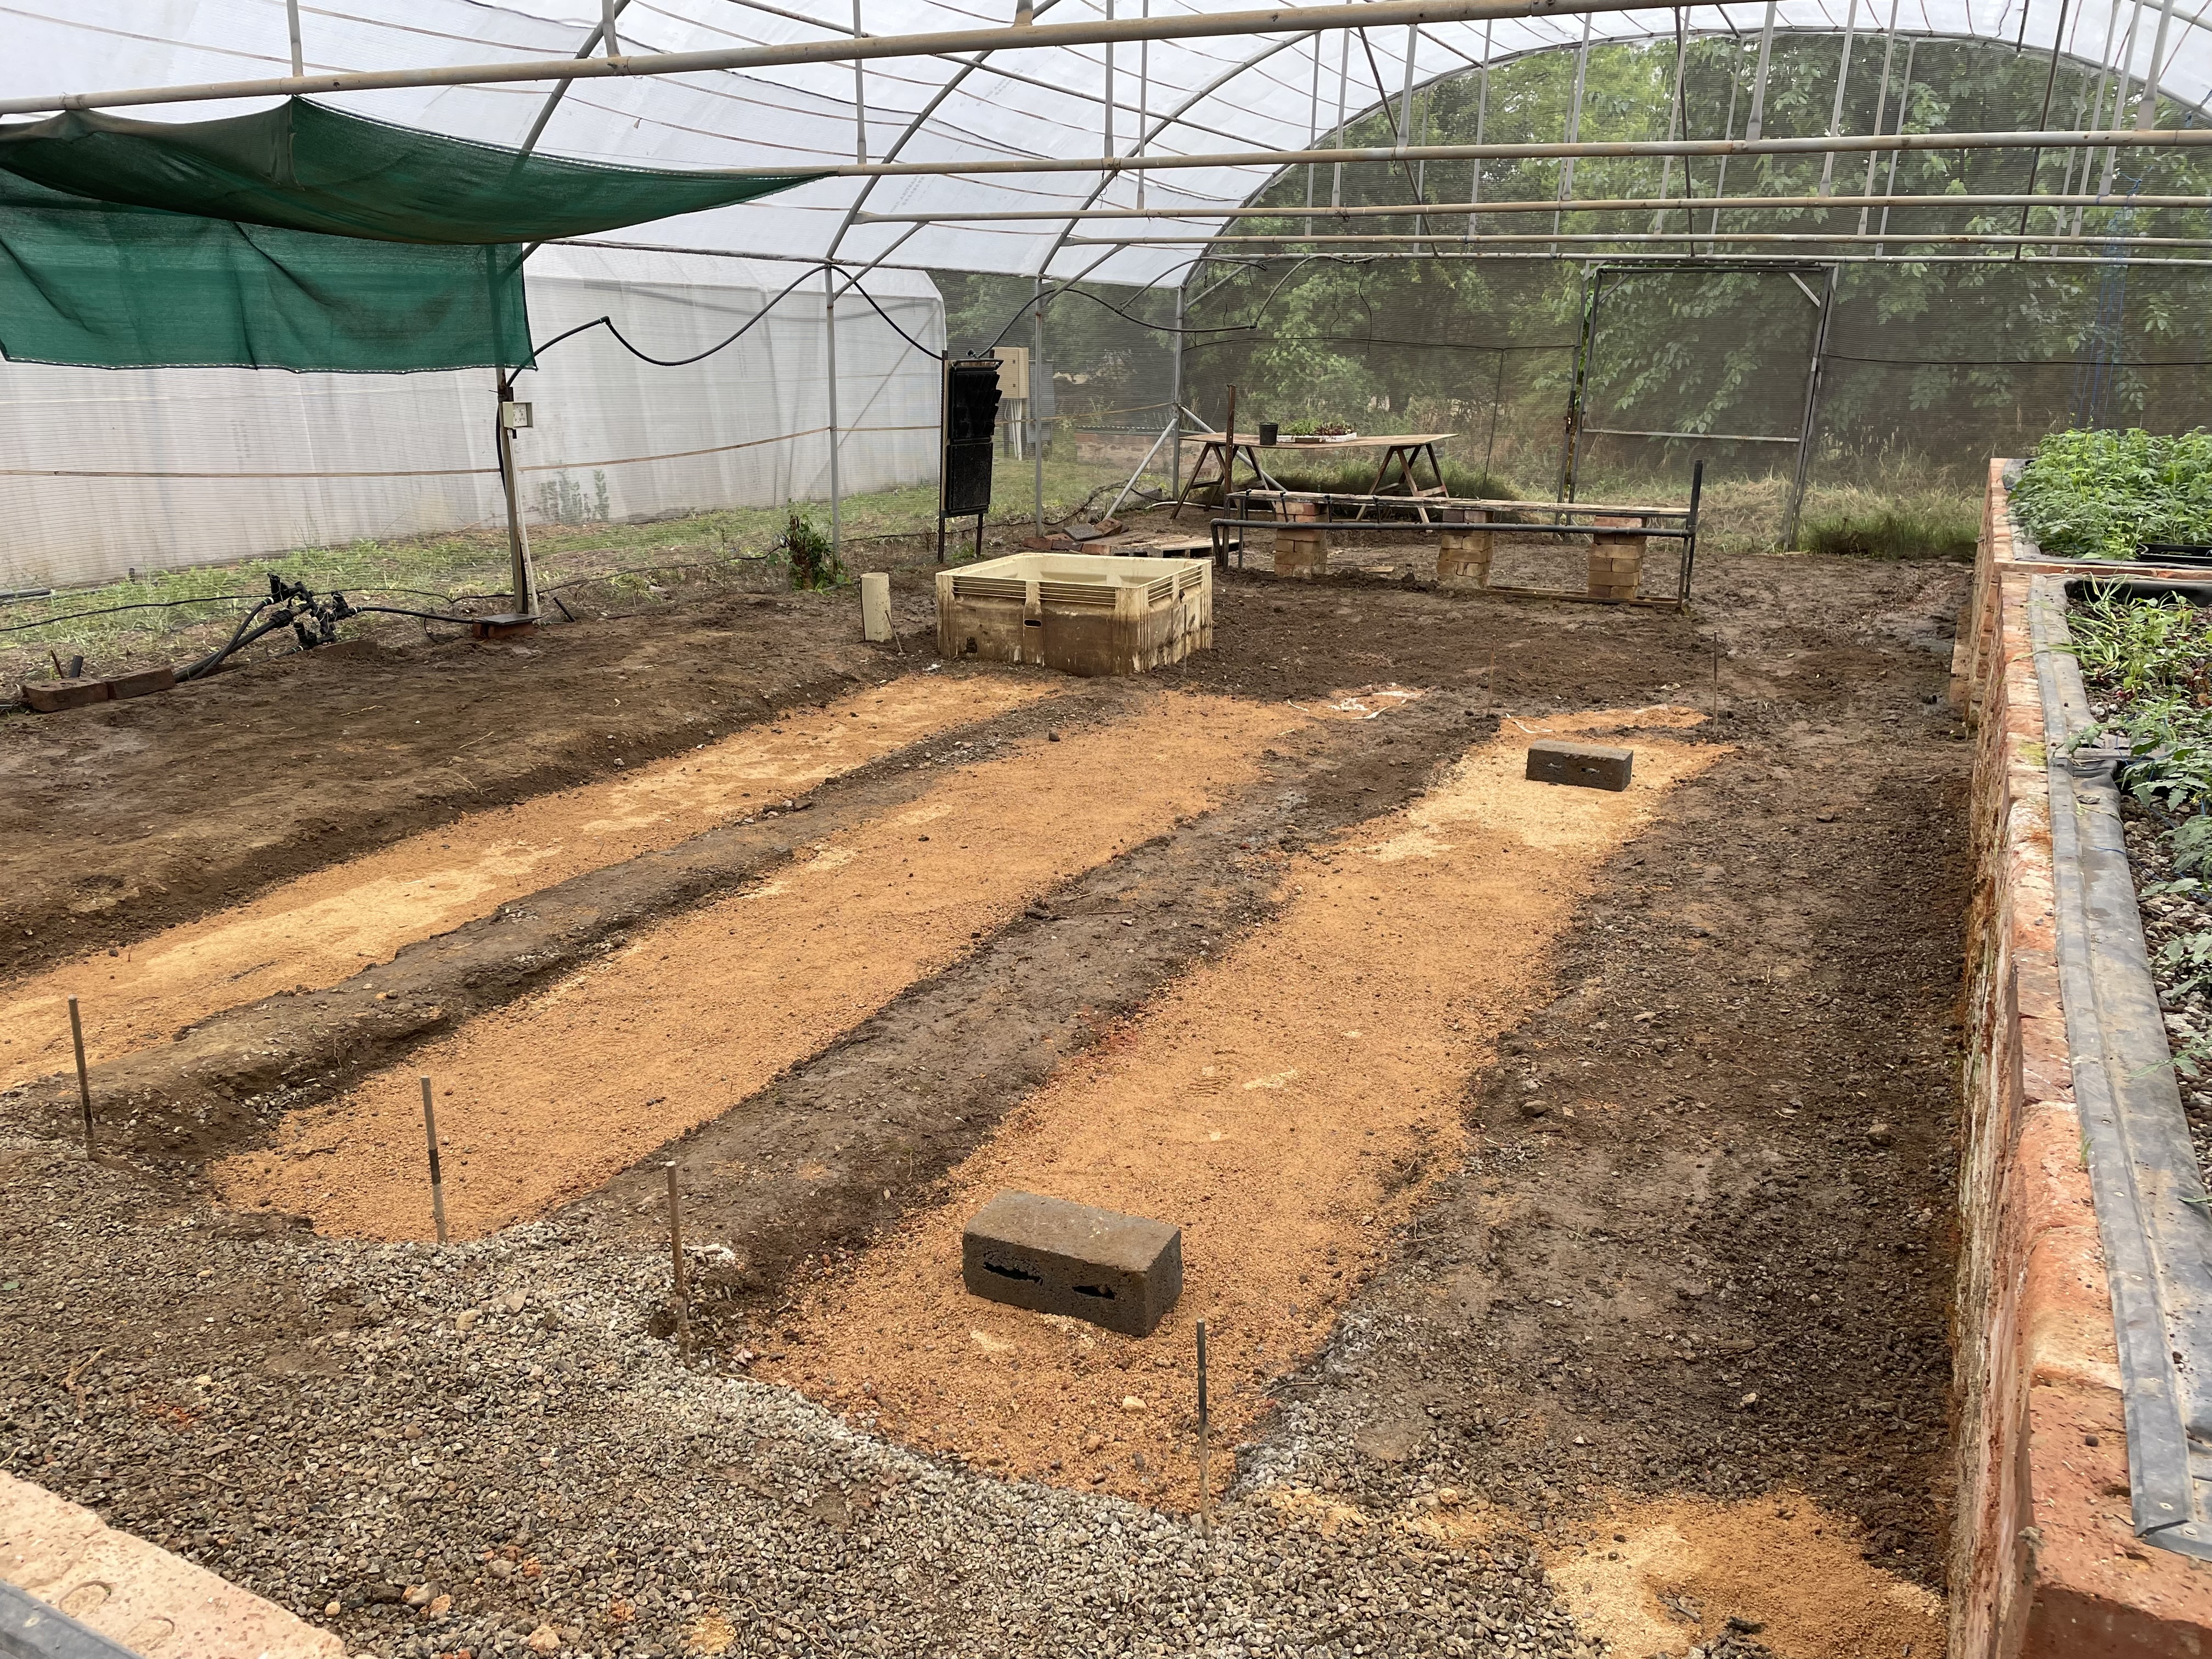
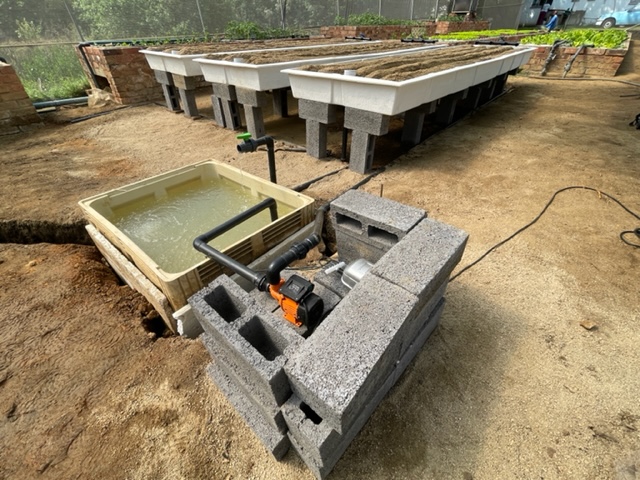
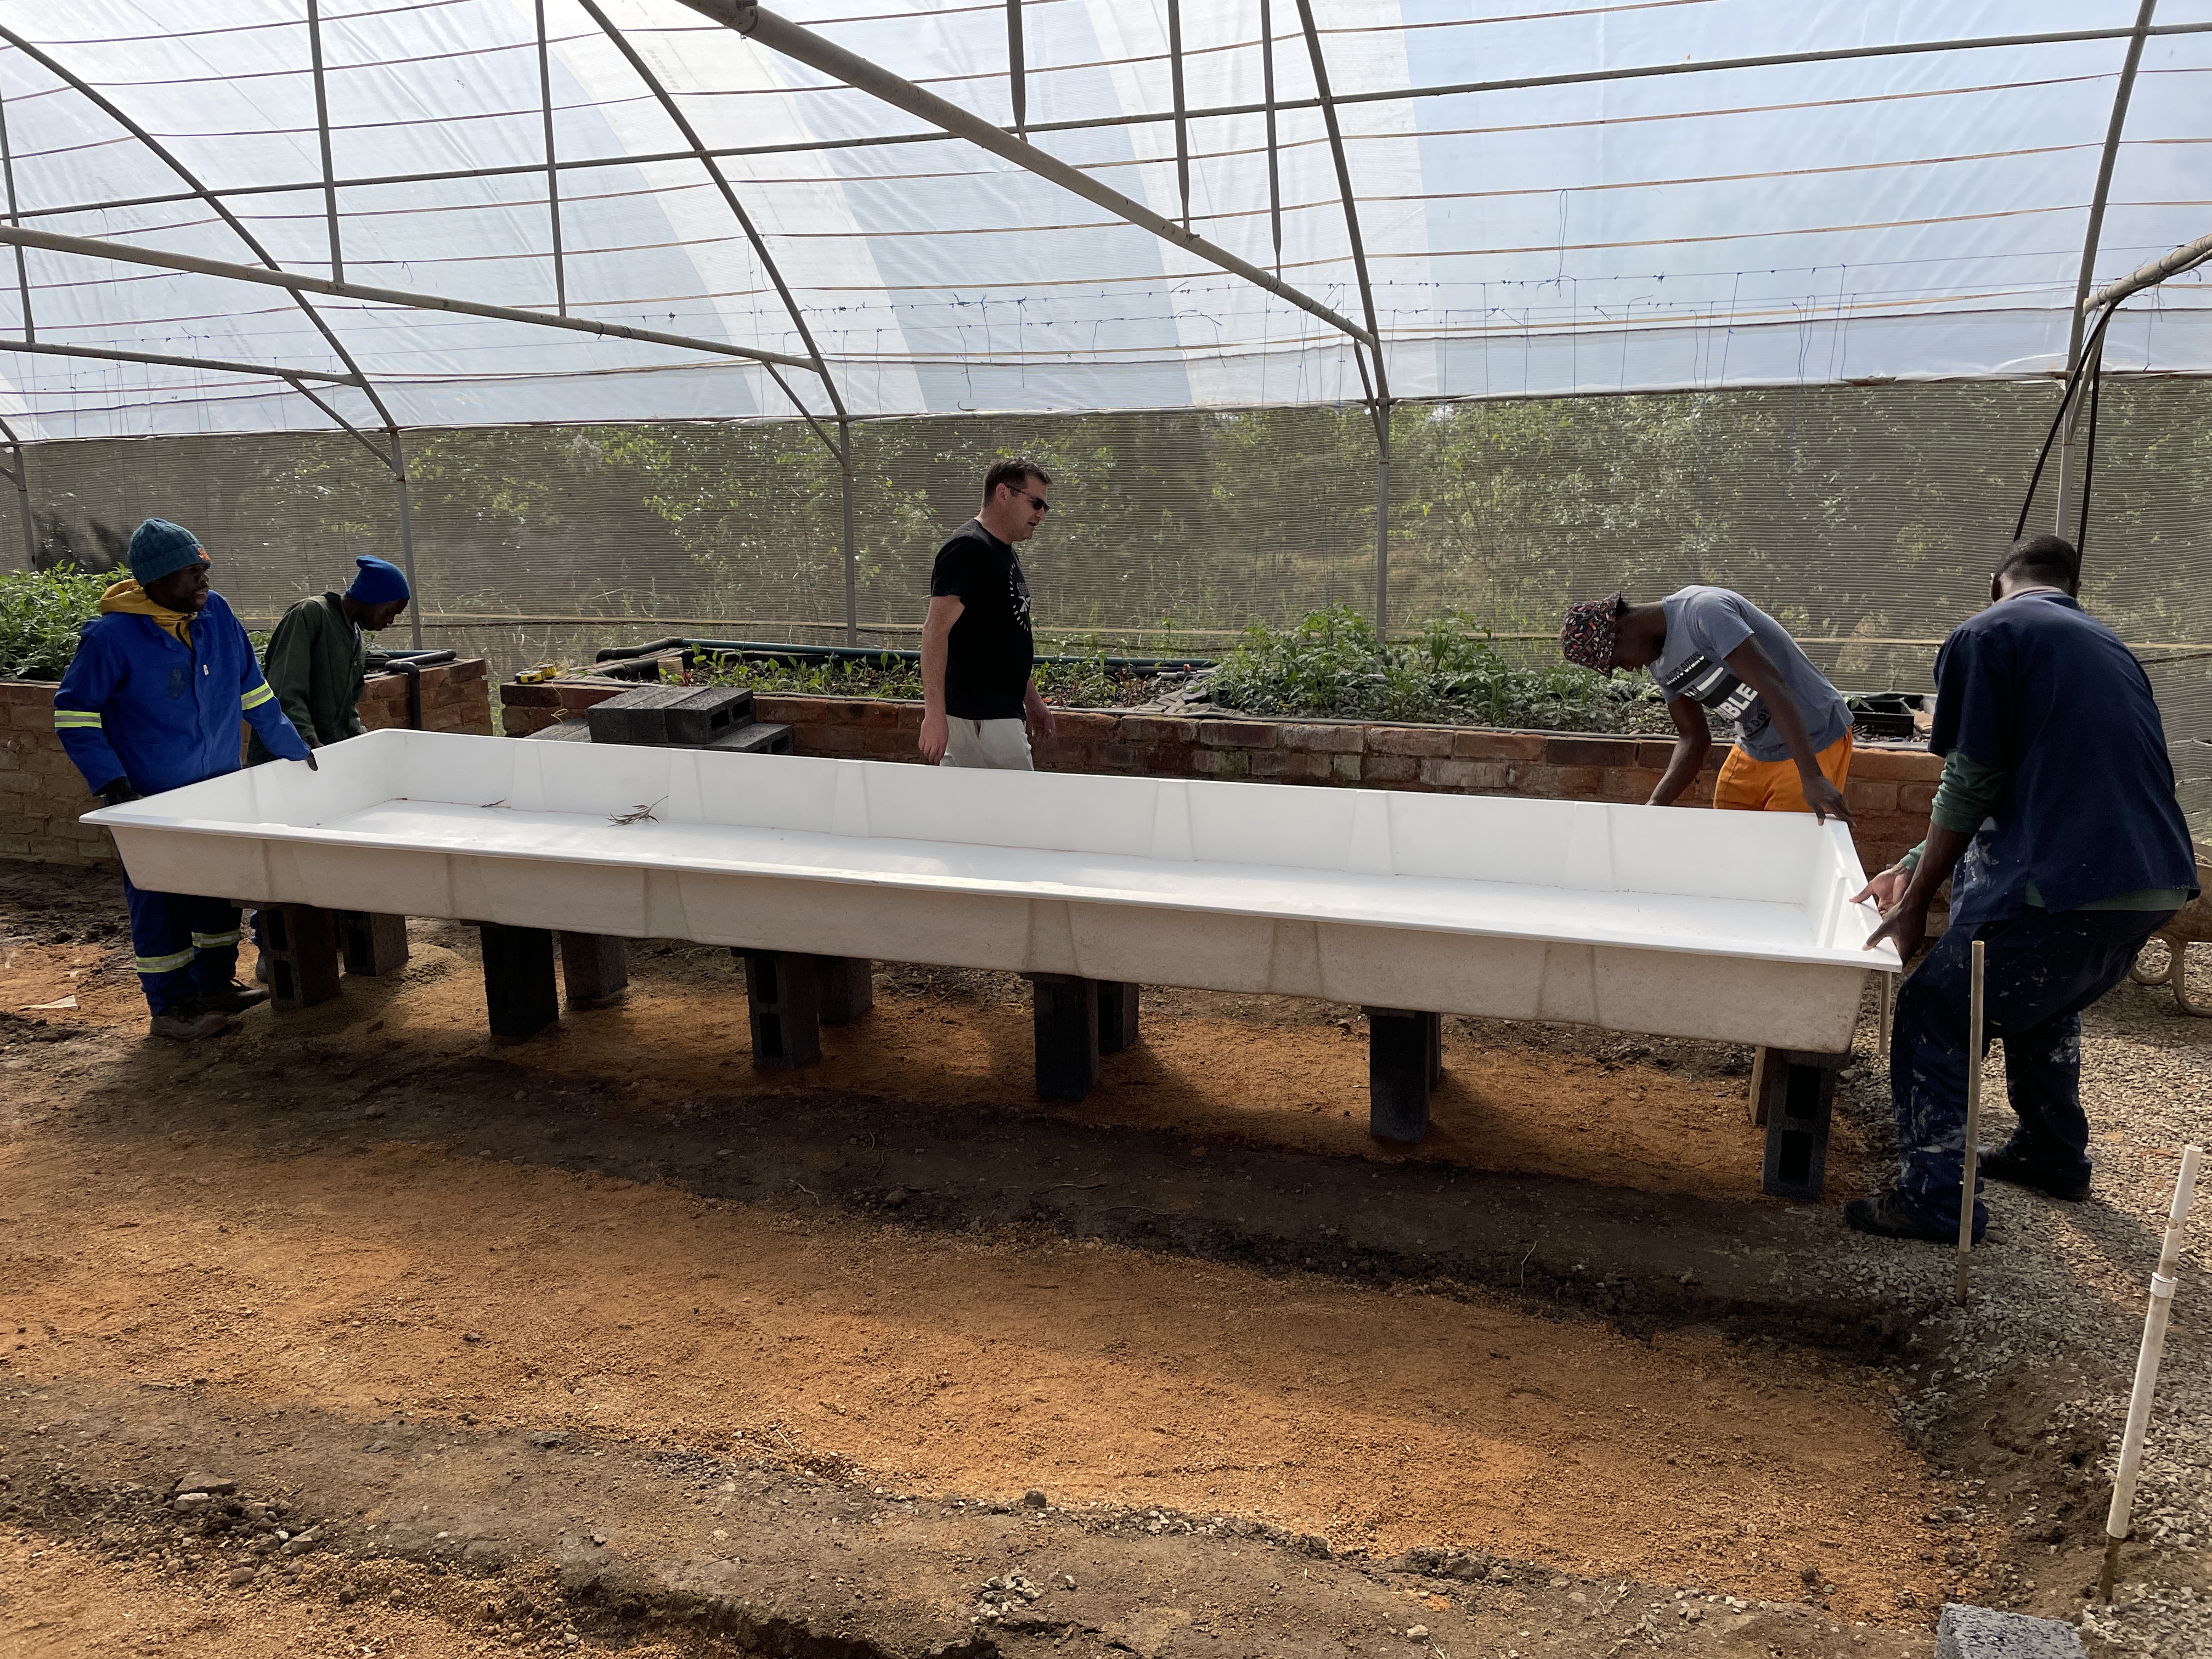
On the second day we had to install the fiberglass grow beds on top of cinder blocks, add the sand to the grow beds and sink the fish tank into the ground. When we dug the hole to install the fish tank, we discovered that the underground water kept rising, so we had to dig a trench to divert the water to the nearby dam to keep the fish tank in place.
The plant grow beds had to be perfectly level. Thank goodness that Clint brought his dumpy level along. It saved us a lot of time, compared to using a spirit level. Adding the sand to the grow beds can also be time consuming, so make sure you have a lot of wheel barrows and helping hands around. We used 6 m3 of washed river sand to fill up the three 5m x 1.2m x 0.25 m plant grow beds.
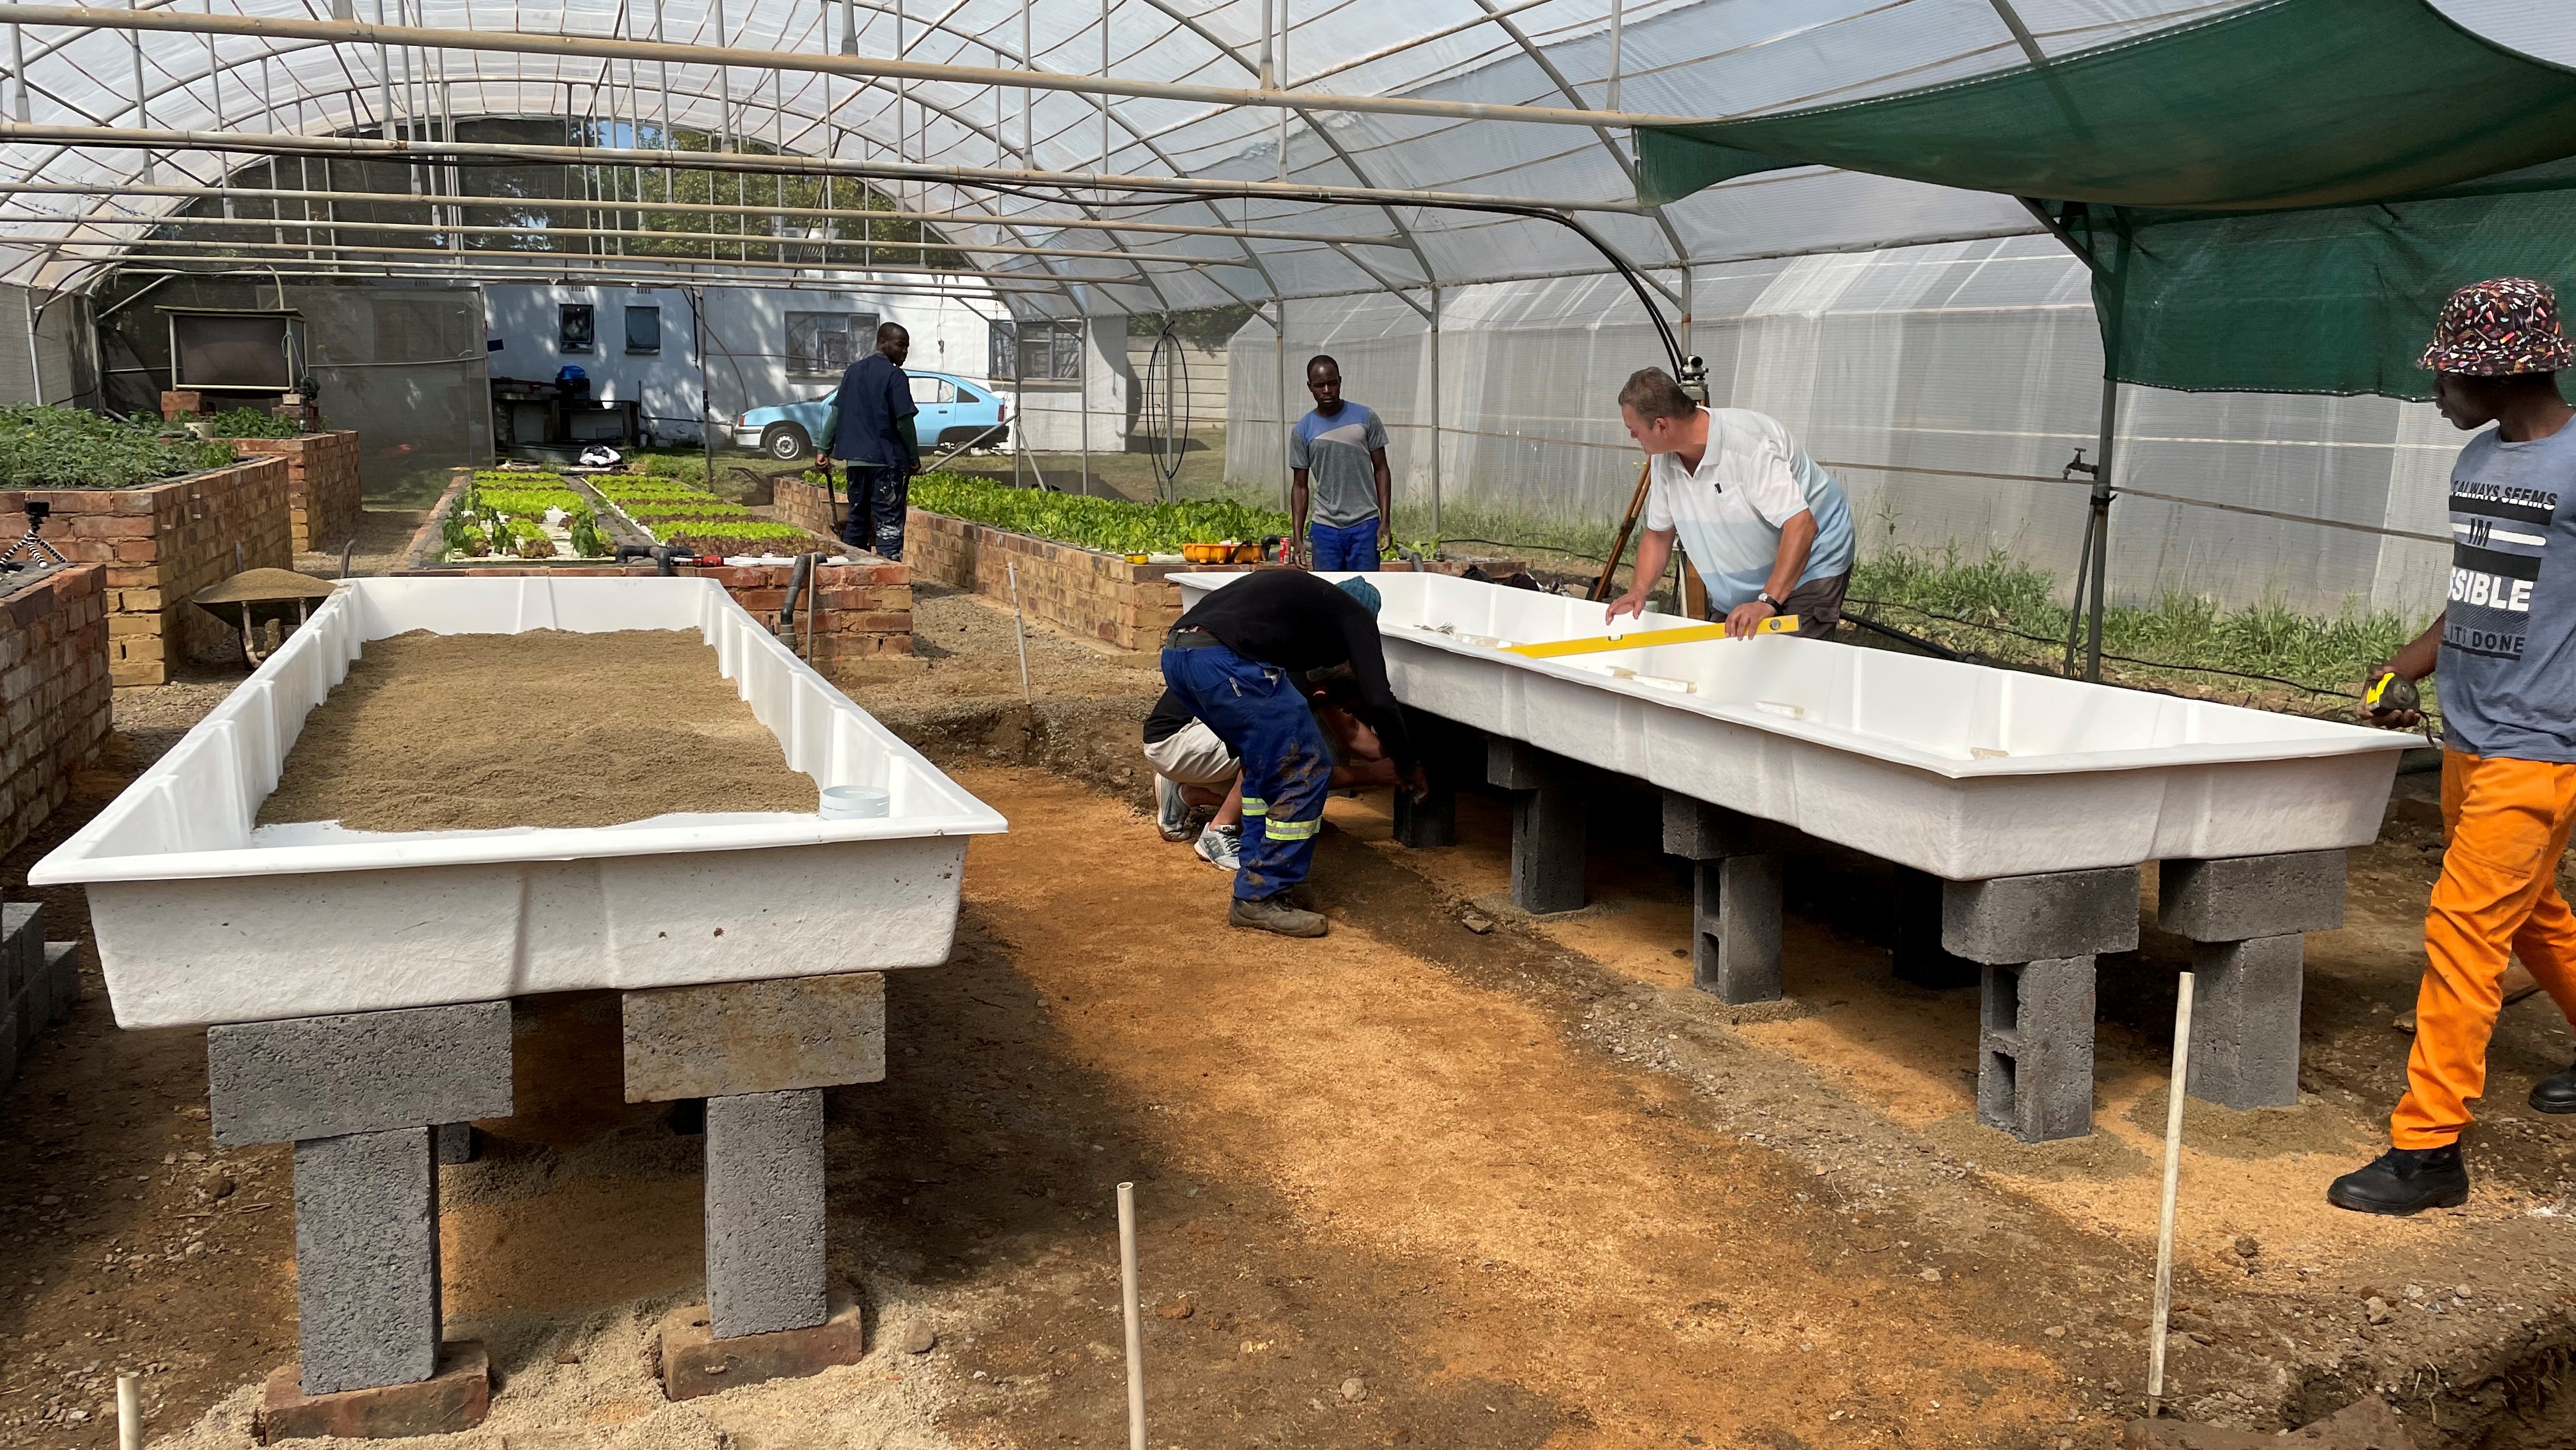
Please ensure that the grow beds are 100% supported and stable after adding the sand. SAFETY cannot be ignored as you dont want those beds to fall onto staff or visitors, especially children. One cubic metre of sand weighs around 1.6 tons when dry, and more when wet.
We have various sized Fiberglass Grow beds:
5 m x 1.2 m x 250mm deep
2.5 m x 1.2 m x 250mm deep
1.2 m x 0.6 m x 300mm deep
Day 3
Sand Testing
The most important thing when starting your Sandponics system is to source sand with the necessary characteristics. These tests can be seen on the Day 3 Video.
Testing For Carbonates - The sand must be free from carbonates. Carbonates can affect the pH. To test for carbonates, add a sample of dry sand to a lid or container. Then pour some white vinegar on the sand until sand is submerged in vinegar. Check for bubbles emanating from the sand. If there are a lot of bubbles, then the sand has carbonates and should not be used.. Silica sand is the best option but can be expensive. We were lucky to find a washed river sand that passed the test.
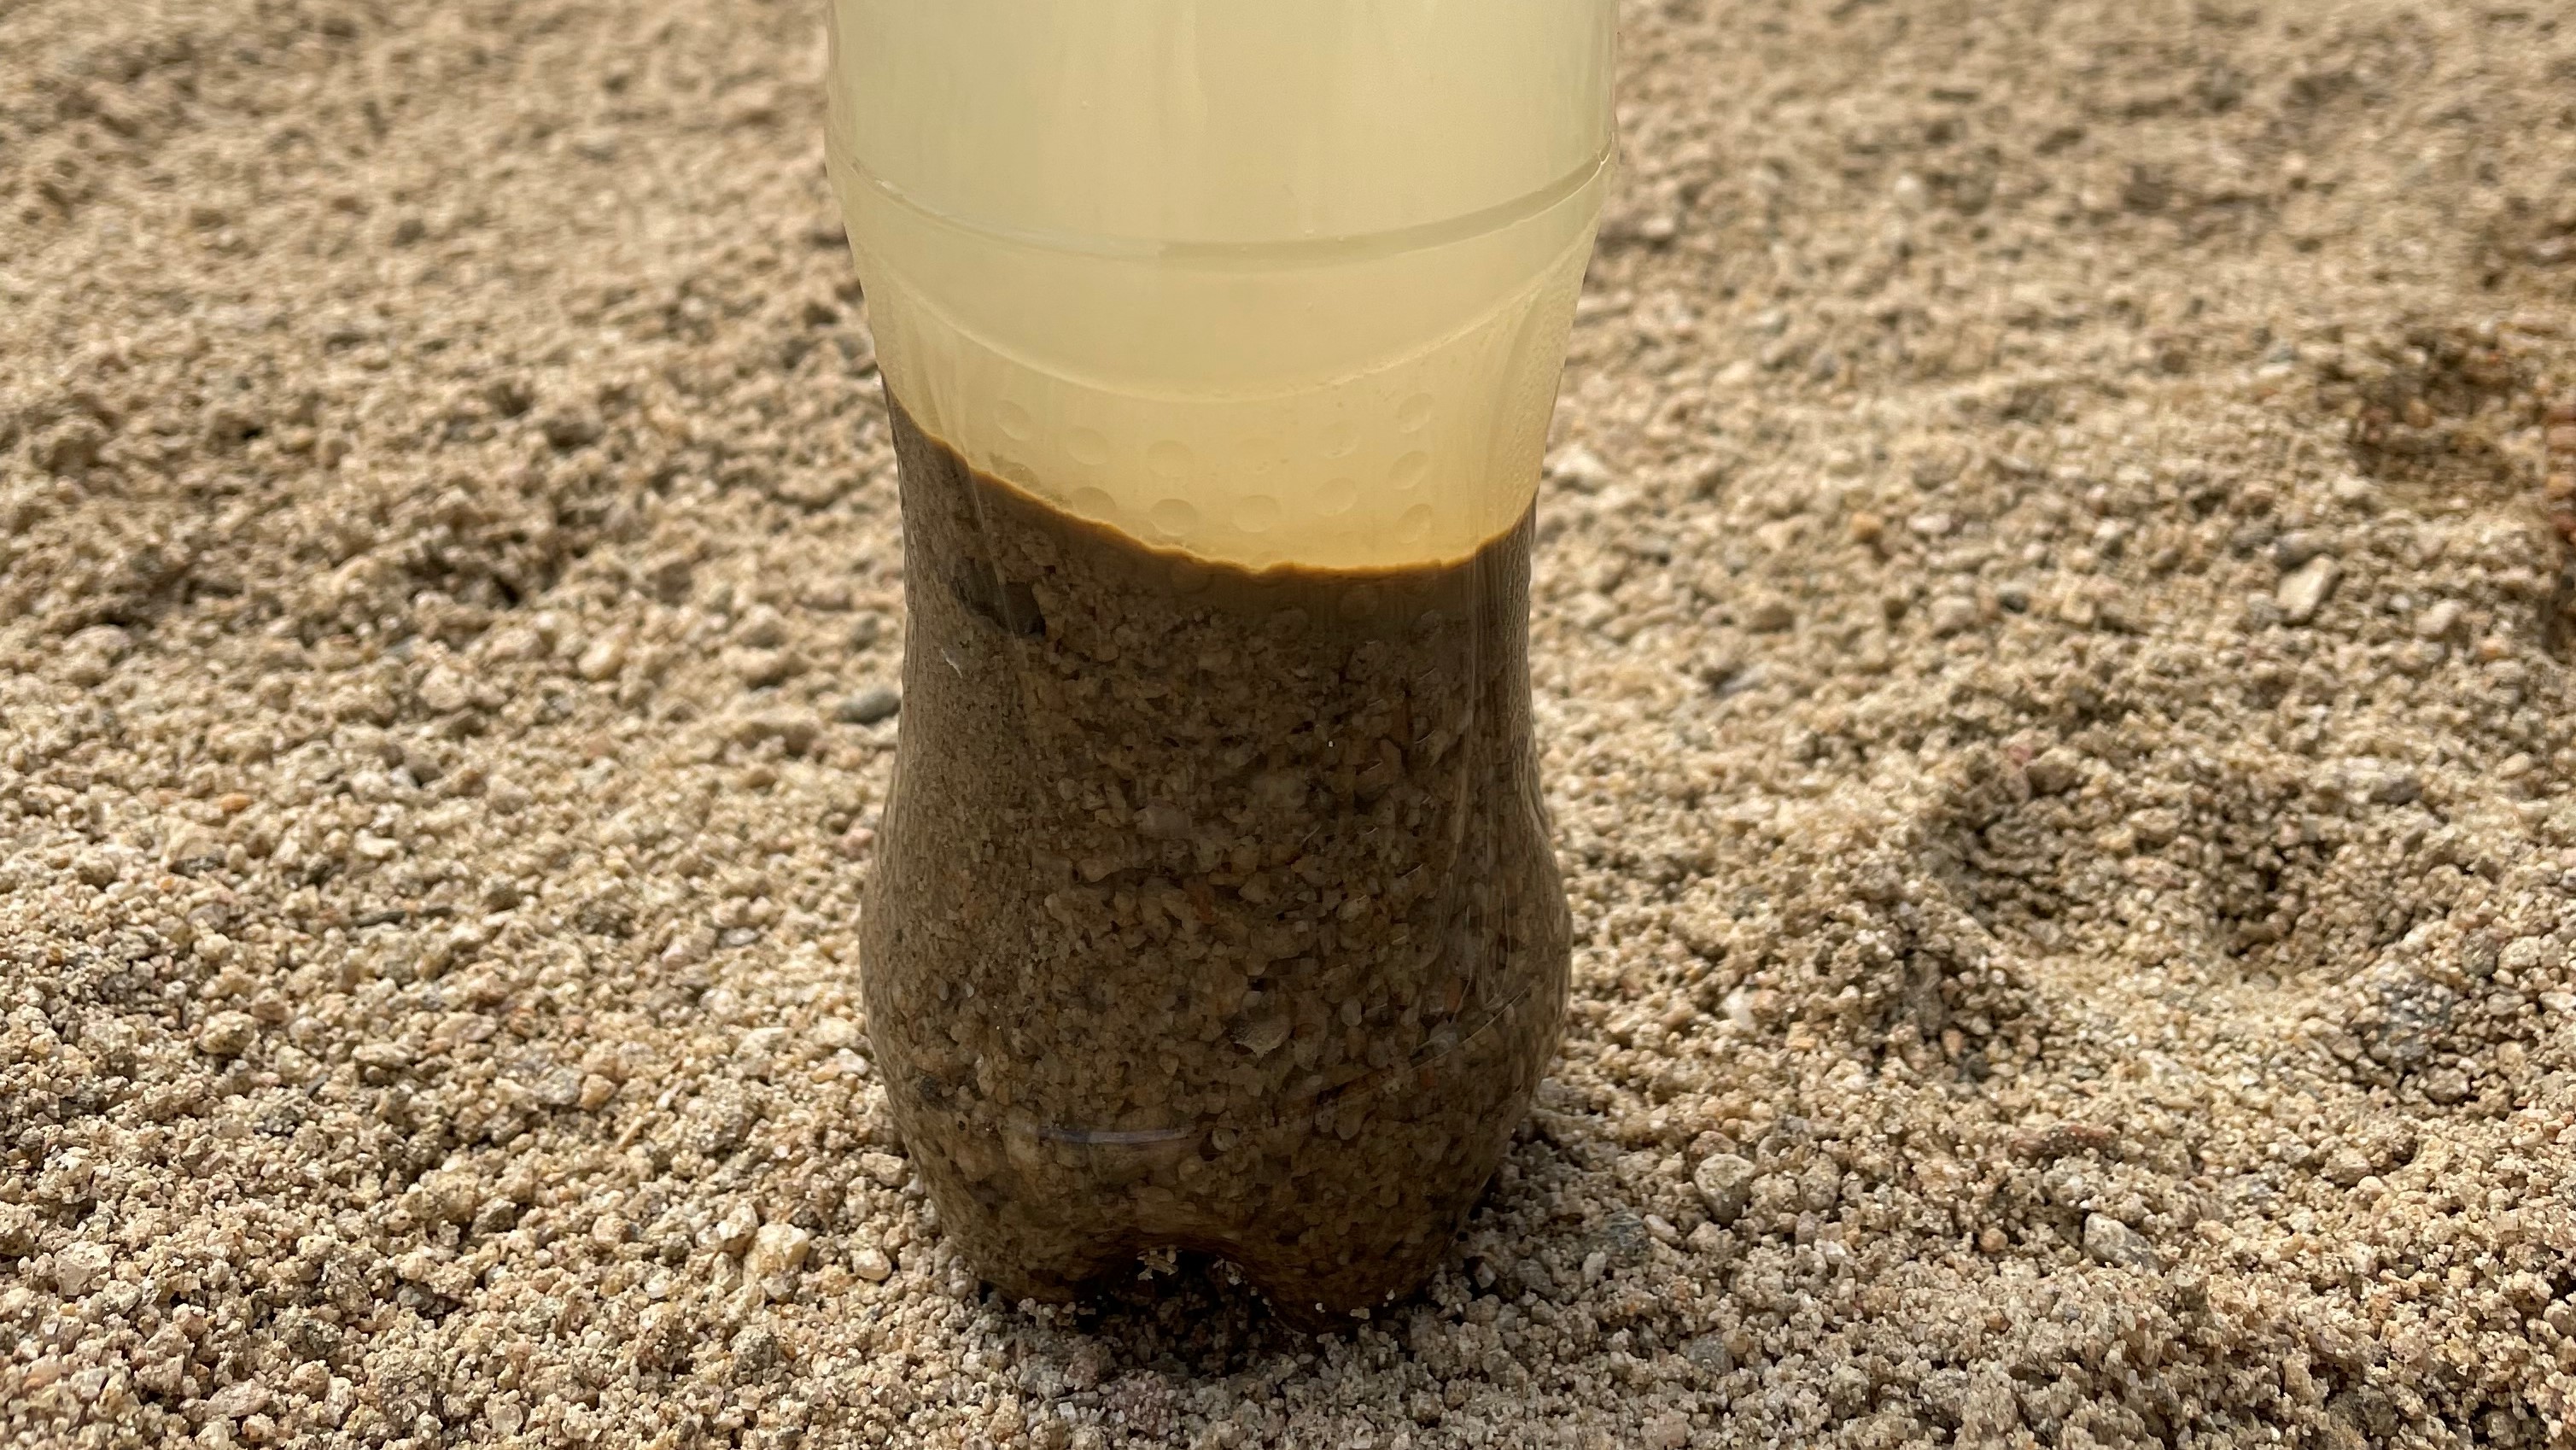
Testing For Clay and Silt - The sand should be free of clay and silt. Put a sample of dry sand in a bottle or glass container, fill it with water and shake vigorously. Allow it to settle for 30-60 minutes. If there is clay or silt, it will show up as two distinct layers above the sand. If the layers are less than 1mm thick, you may just have to do one wash to sort it out.
Percolation Test - A percolation test measures the rate at which water drains through the sand. The coarser the sand the better the percolation and drainage. Ideally the sand particles should be 1-3mm. You can easily test by adding sand to a bucket, drill some holes at the bottom of the bucket, then add water and see how long it takes to all drain out. Should be between 15mins and 30 mins.
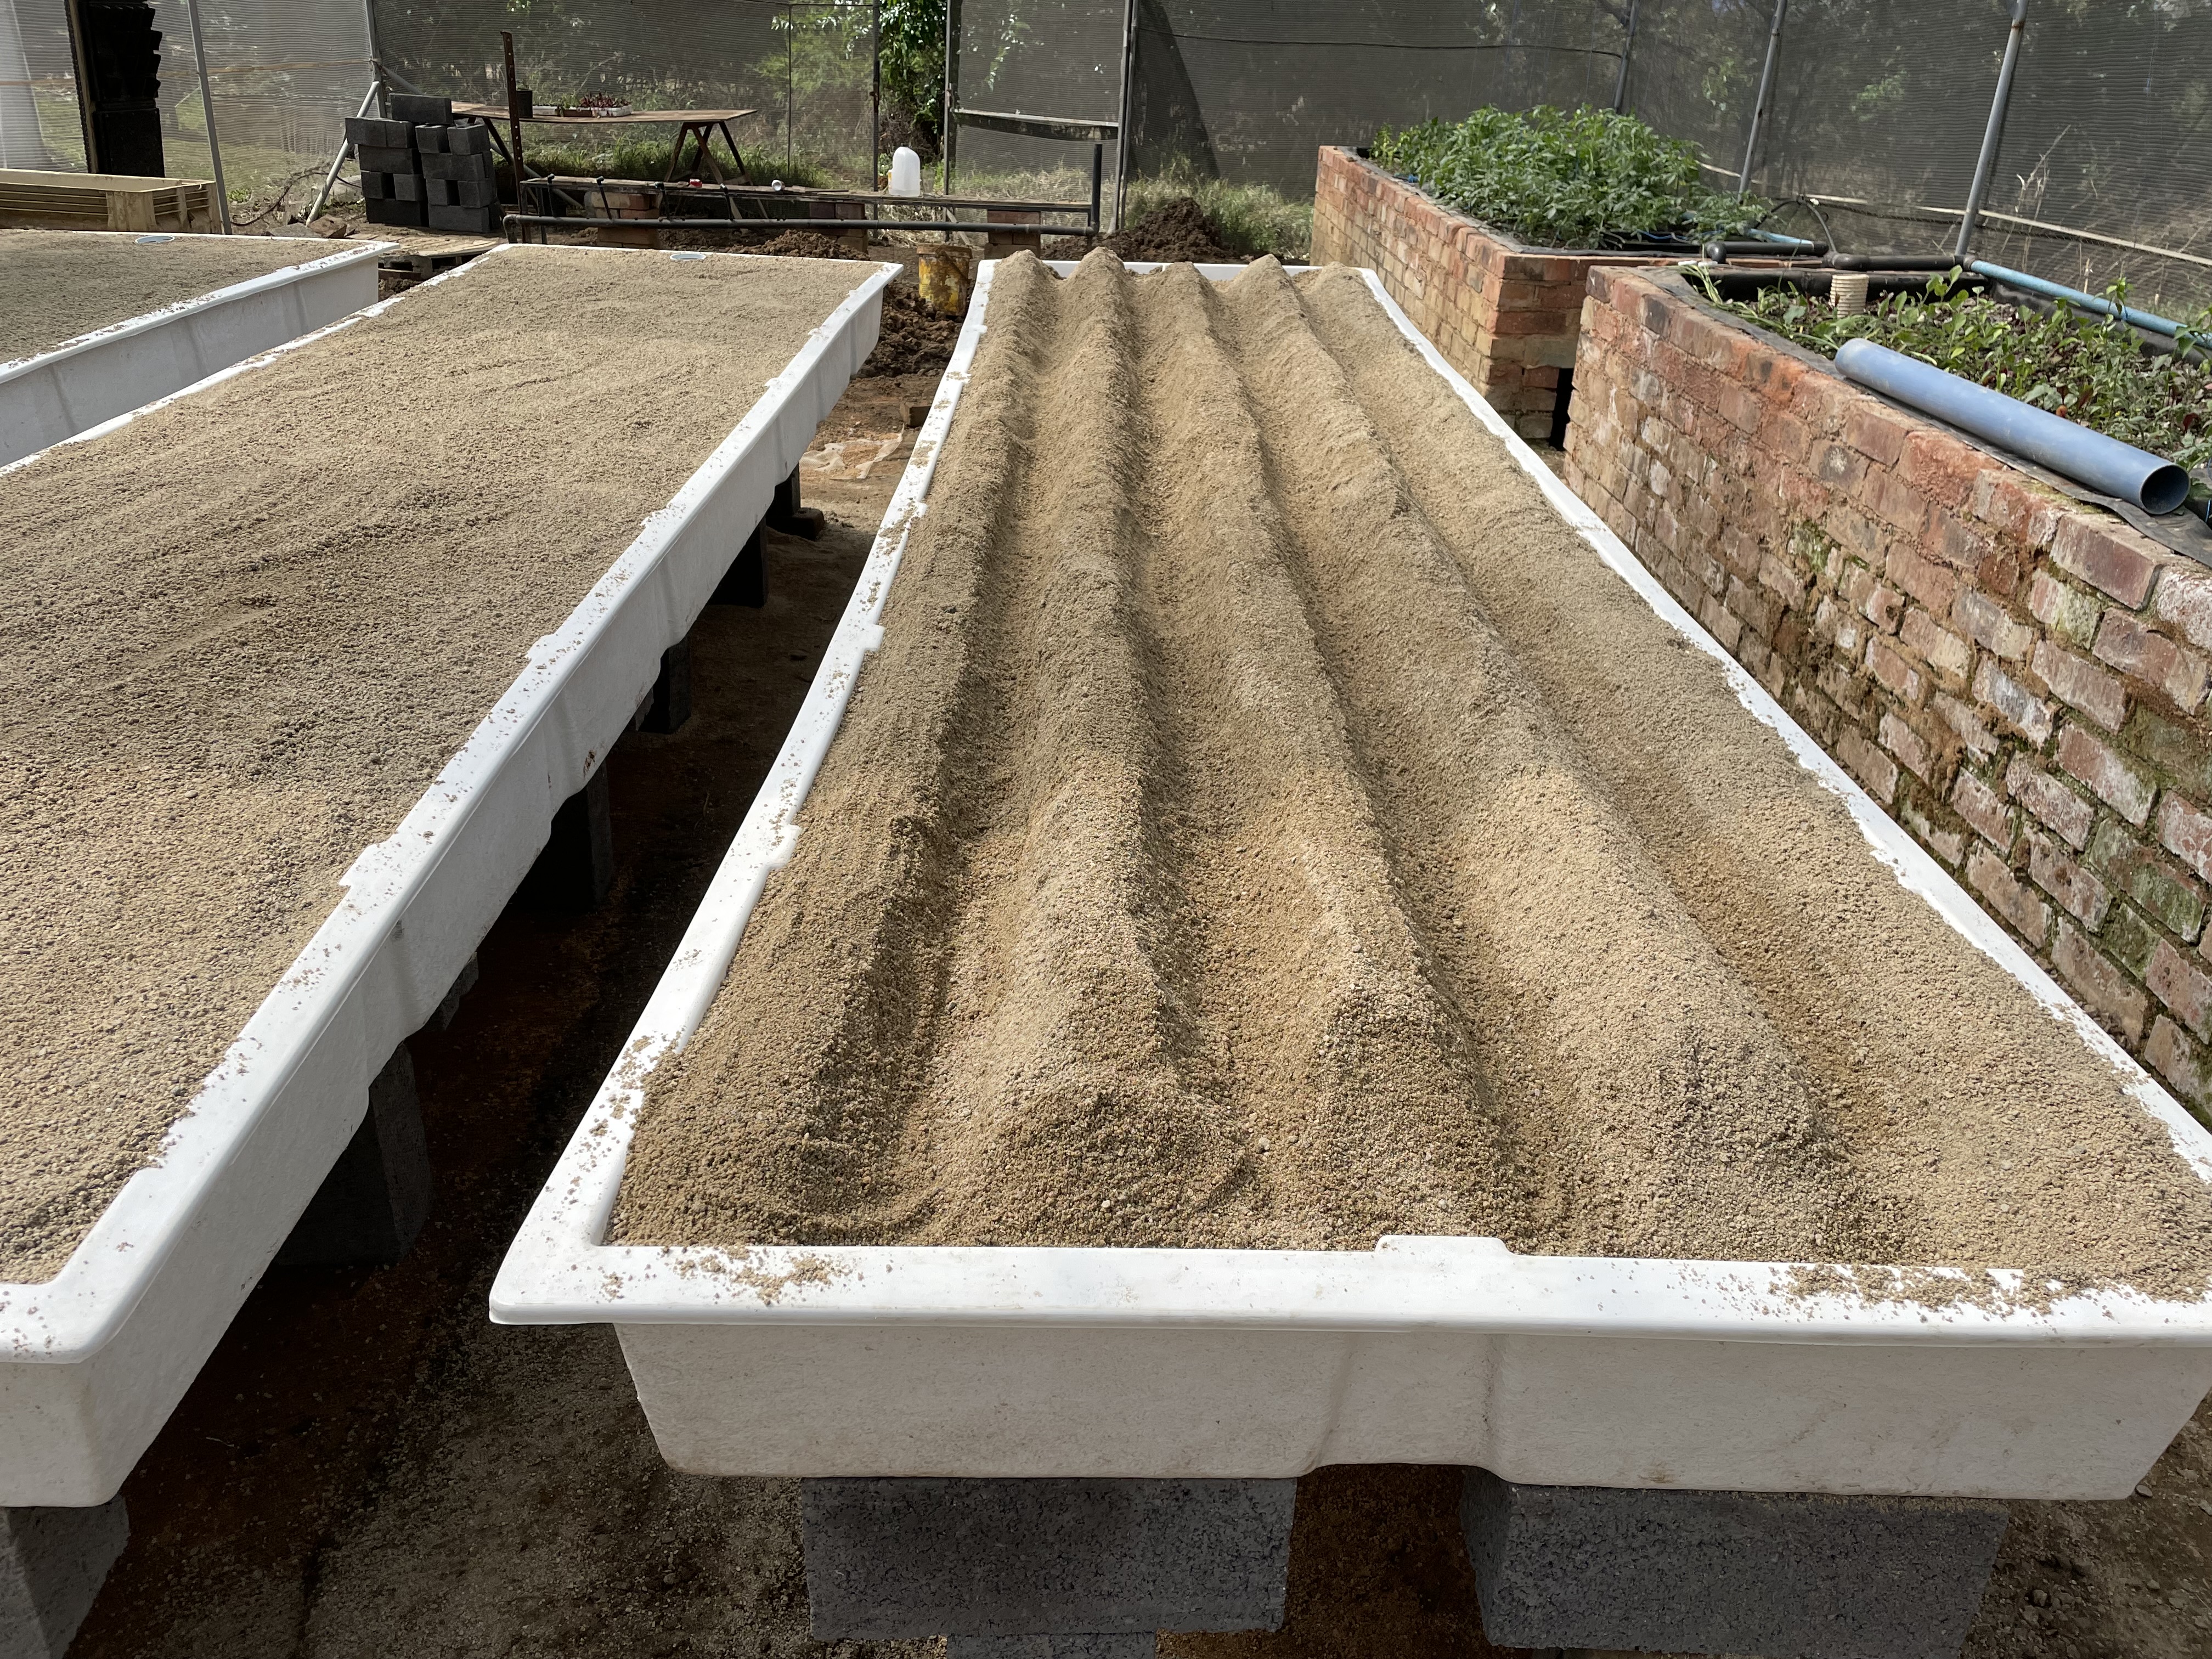
The rest of day 3 involved the forming of the sand into ridges and furrows, connection of all the piping and fittings between plant grow beds, fish tank, water pump, air pump.
One big note, only shape the sand into furrows and ridges once the sand is fully saturated with water and fully settled without any air pockets.
The water pump was on a digital timer, set to start pumping water from 7 am in the morning, to 7 Pm, in intervals of 30 minutes on and 90 minutes off. The water pump is switched off during the night. The air pump works day and night to ensure the fish tank has adequate aeration.
Day 4
Day 4 was spent planting. Fish were only added 2 weeks later. During the first 2 weeks, we dosed the plant grow beds with fish waste from our aquaponics fish tanks.
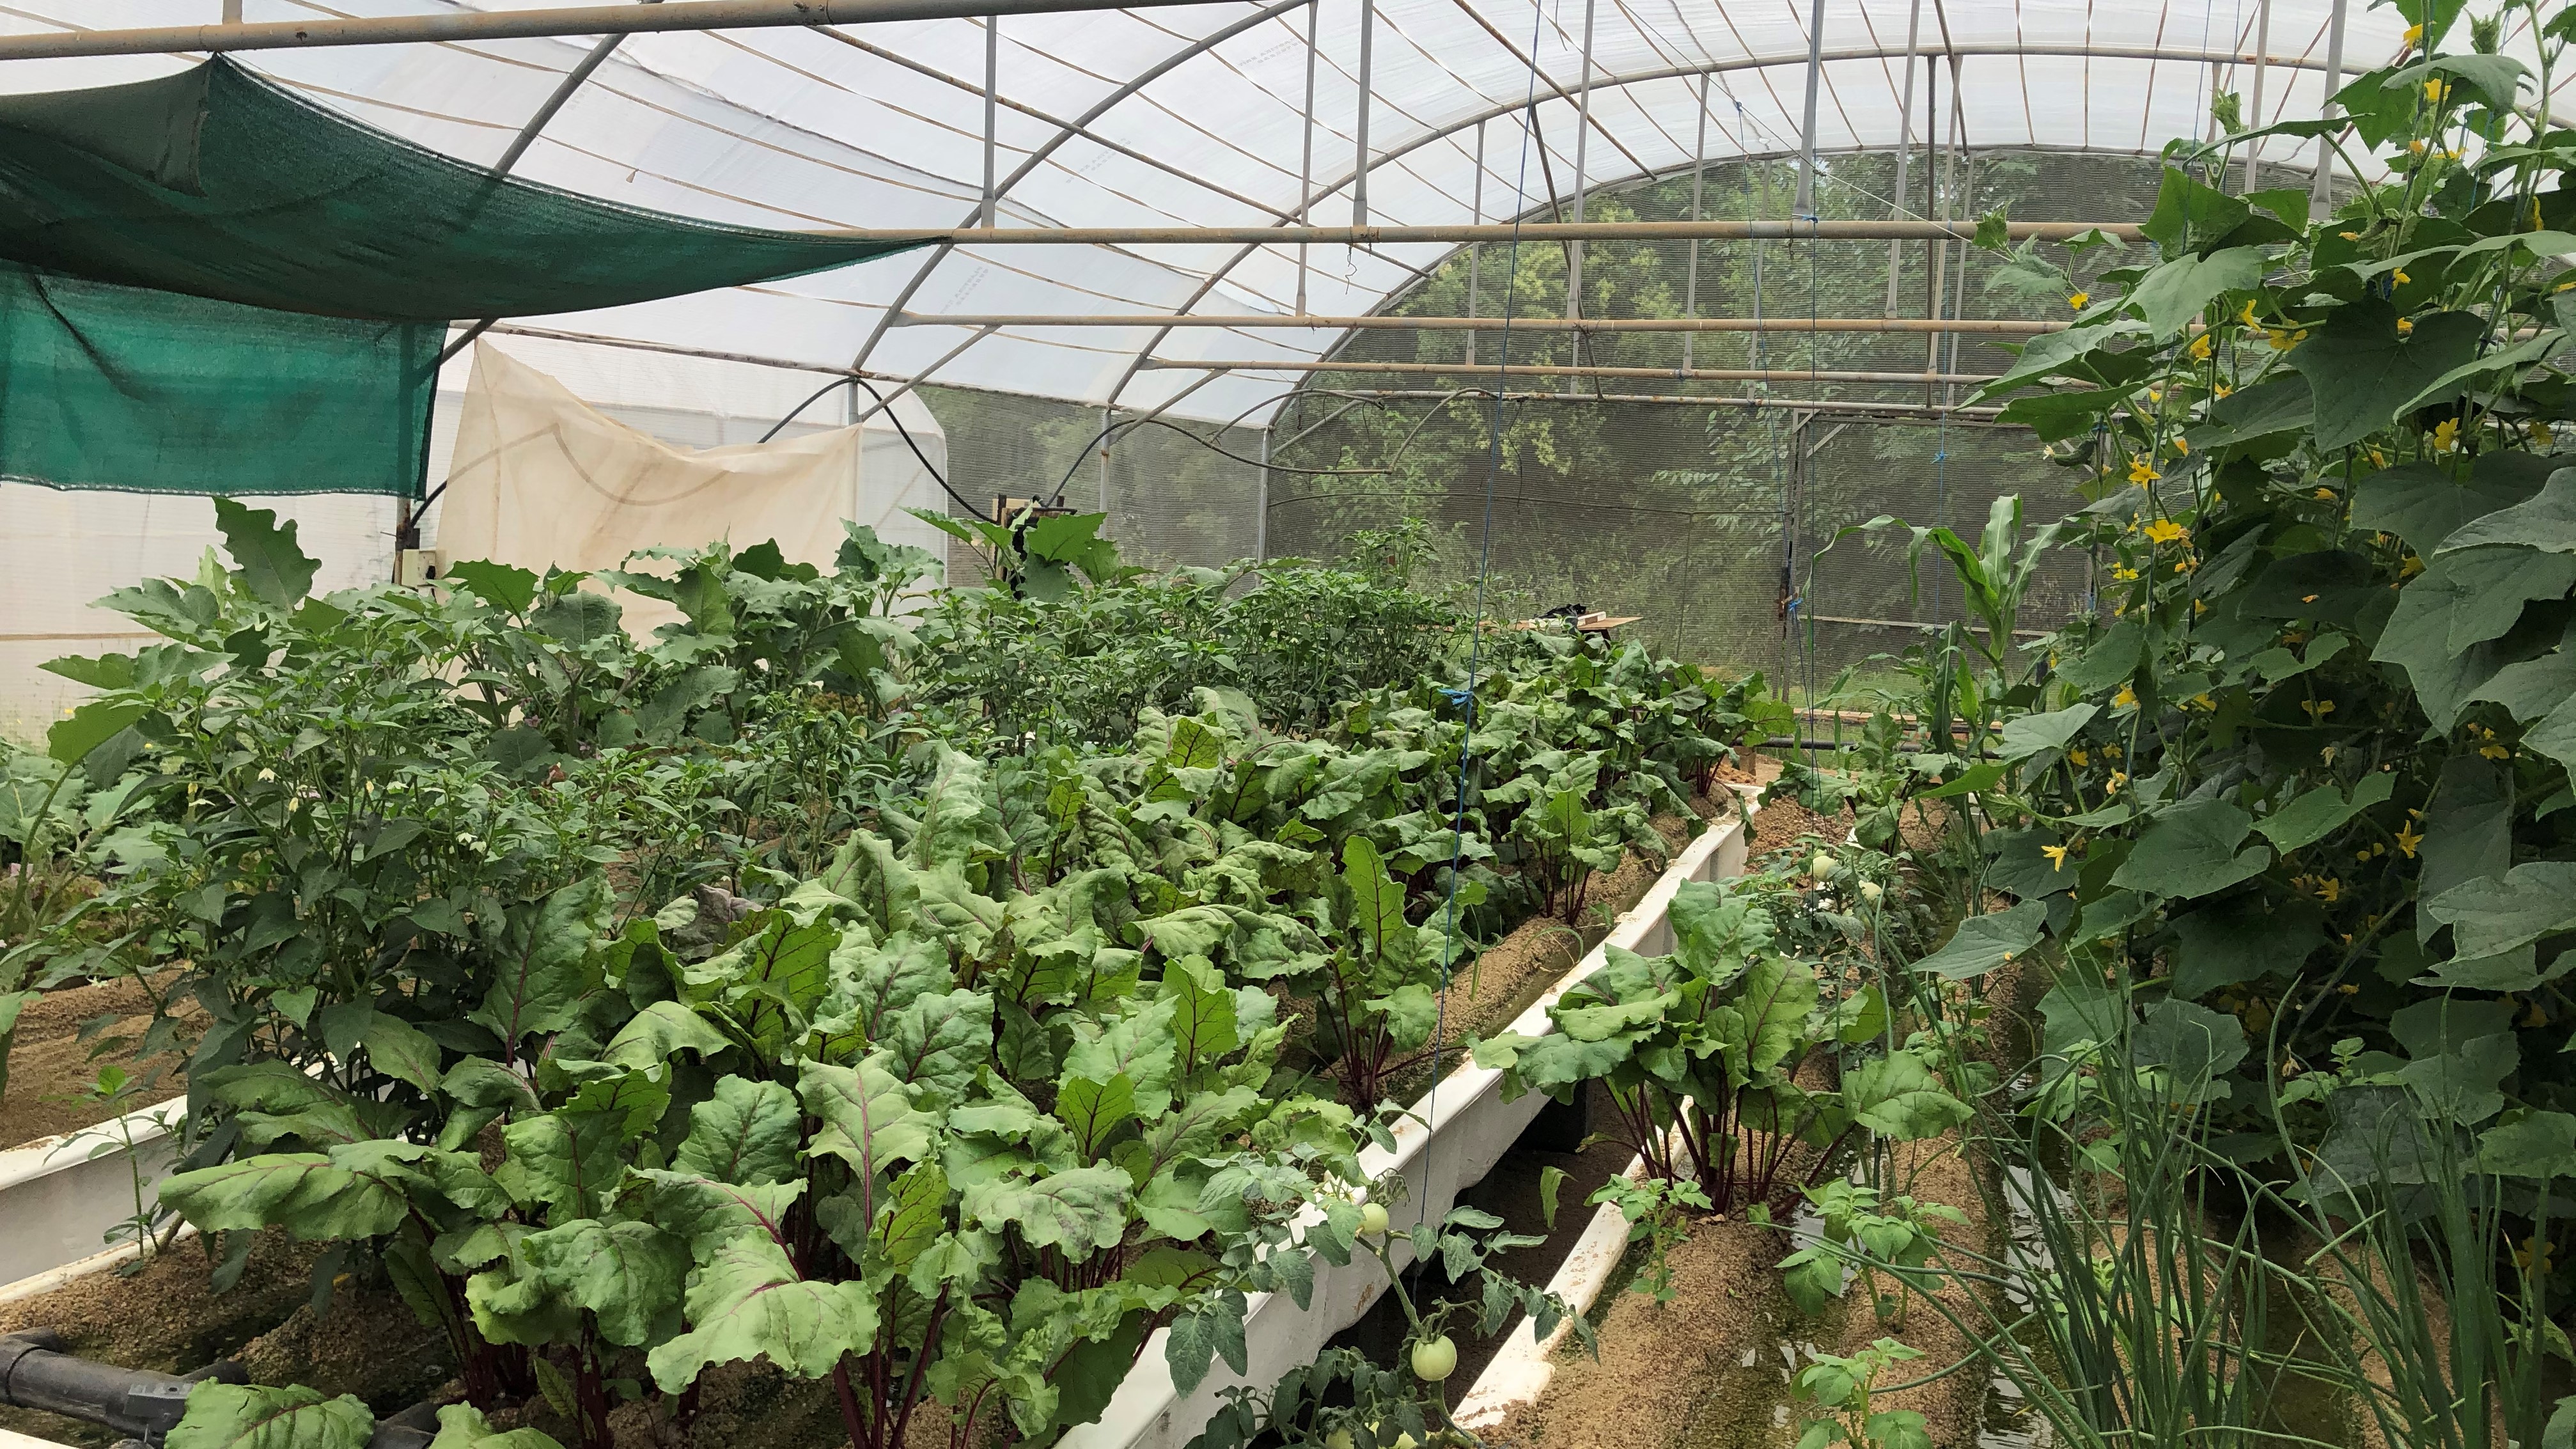
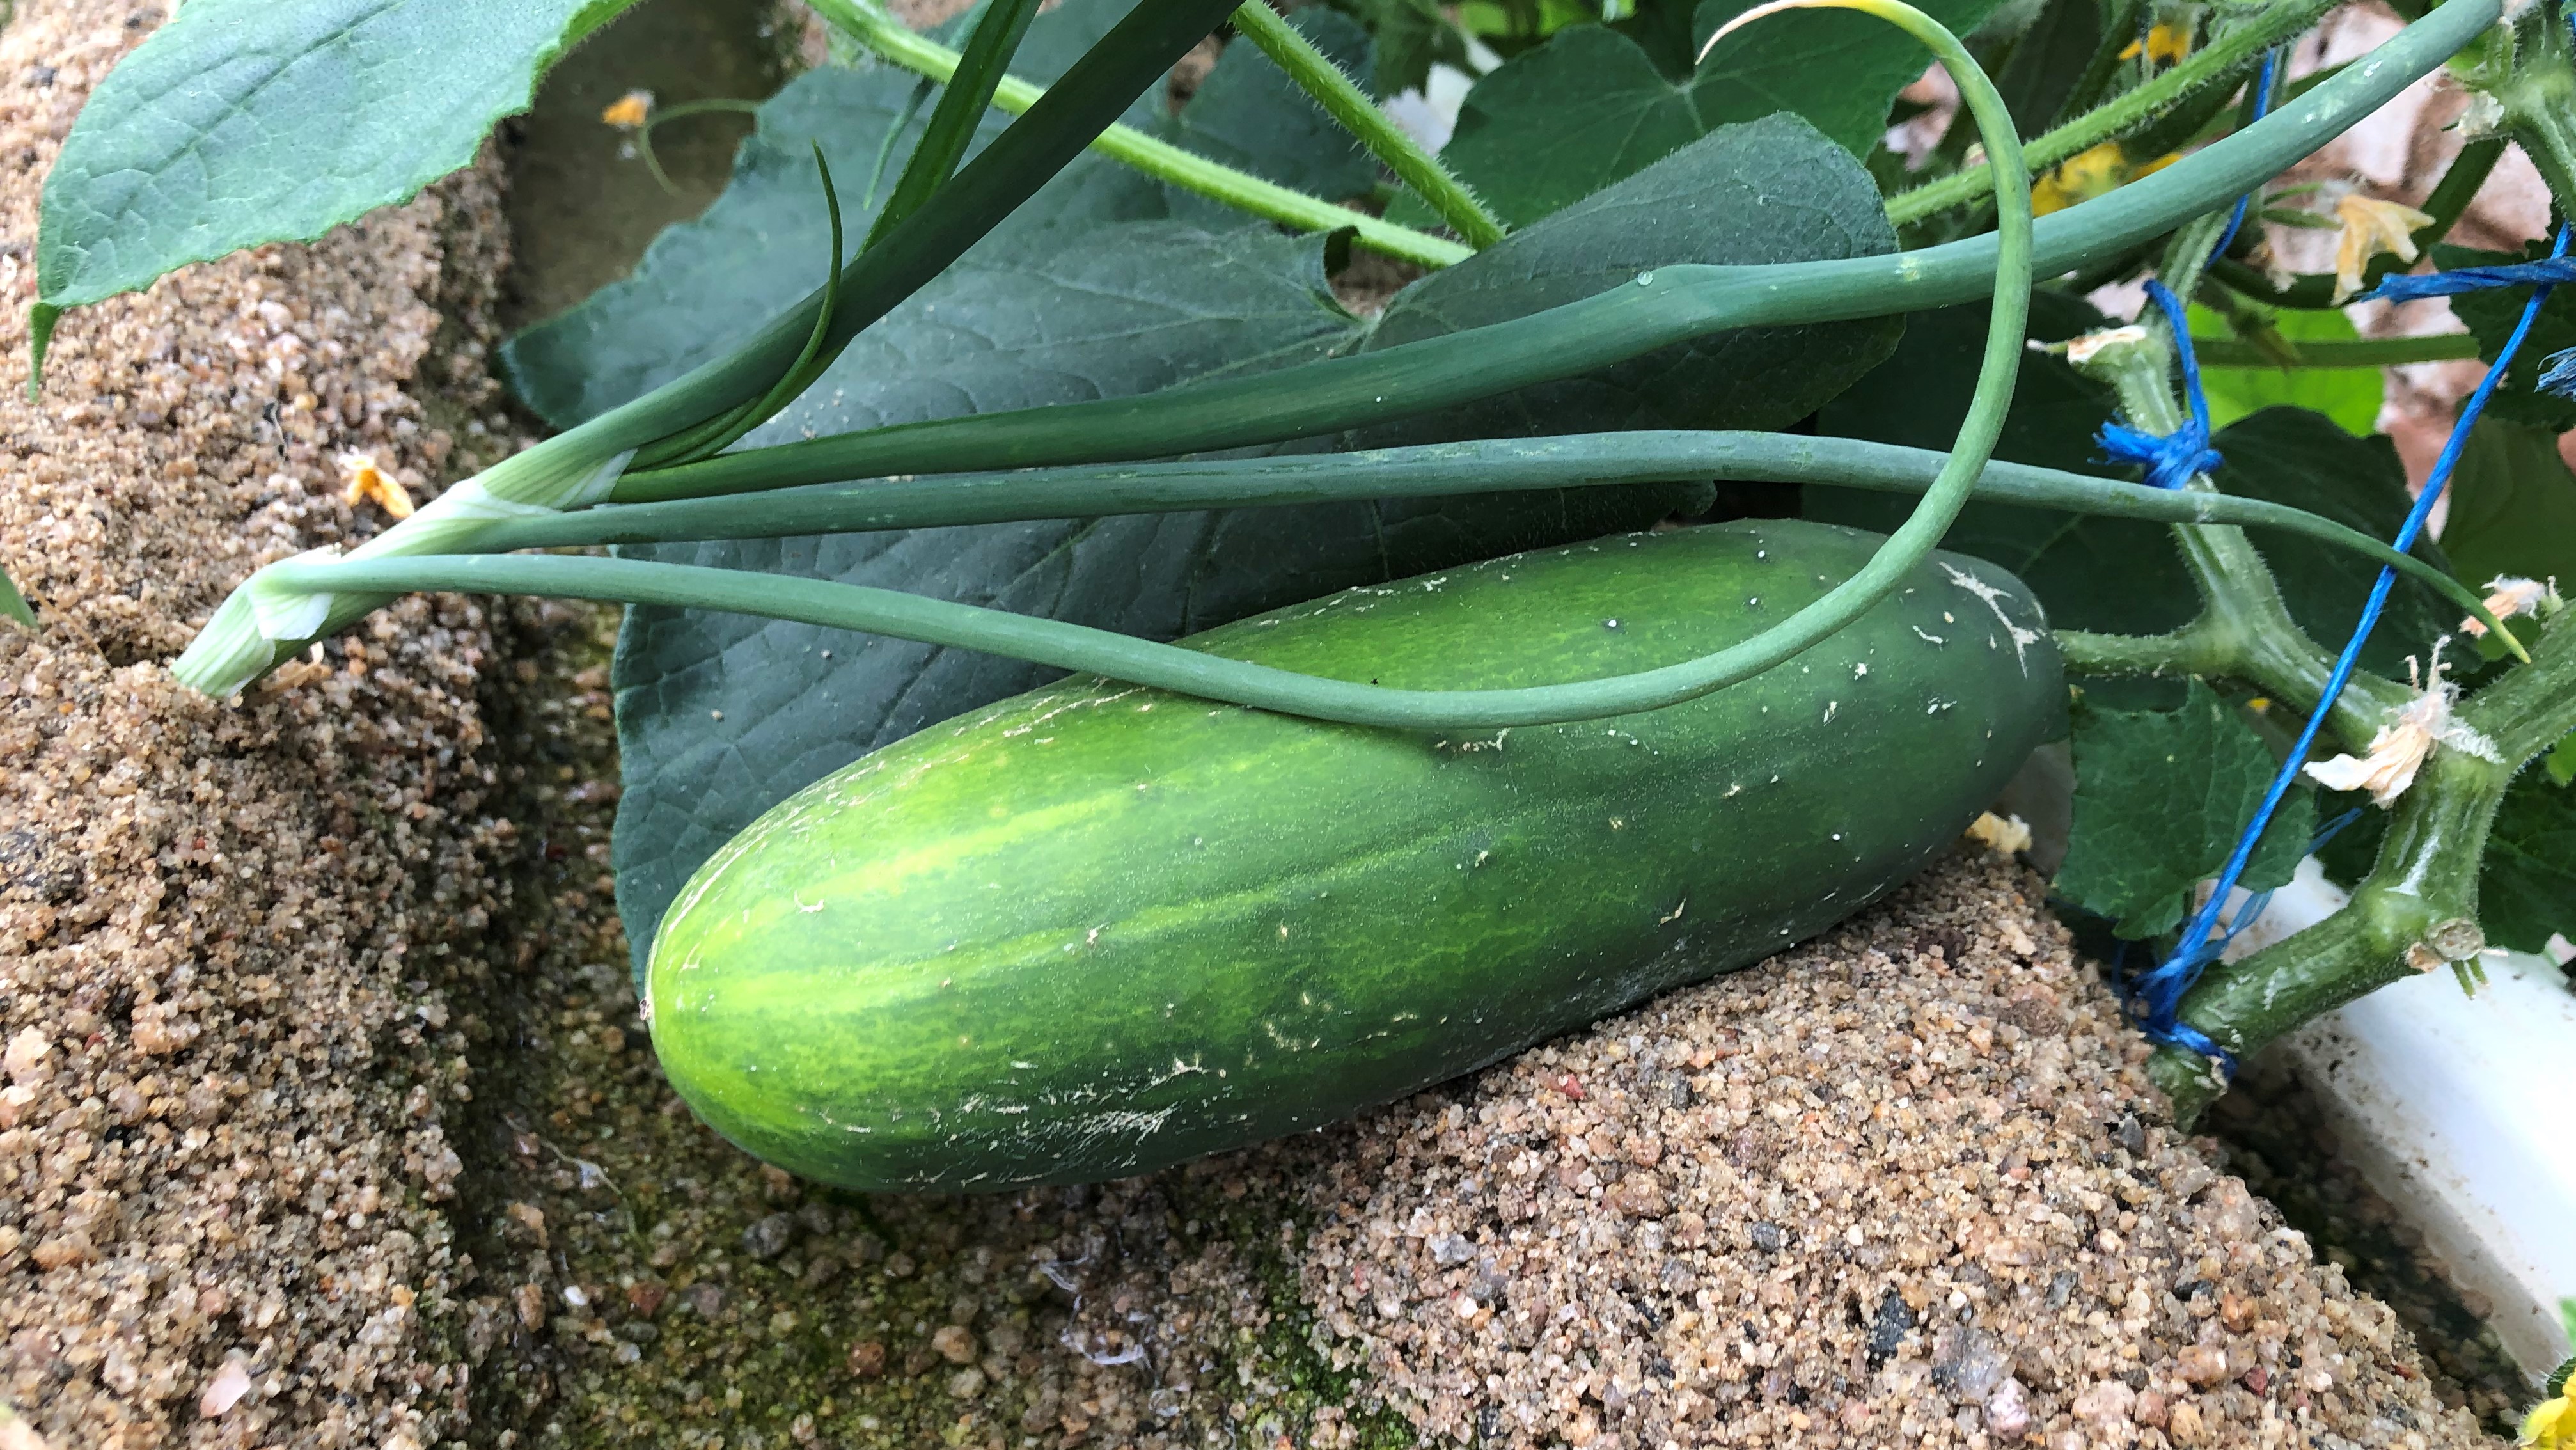
One of the benefits of Sandponics over Aquaponics, is that you can grow root vegetables such as potatoes, garlic, onion, beetroot and carrots.
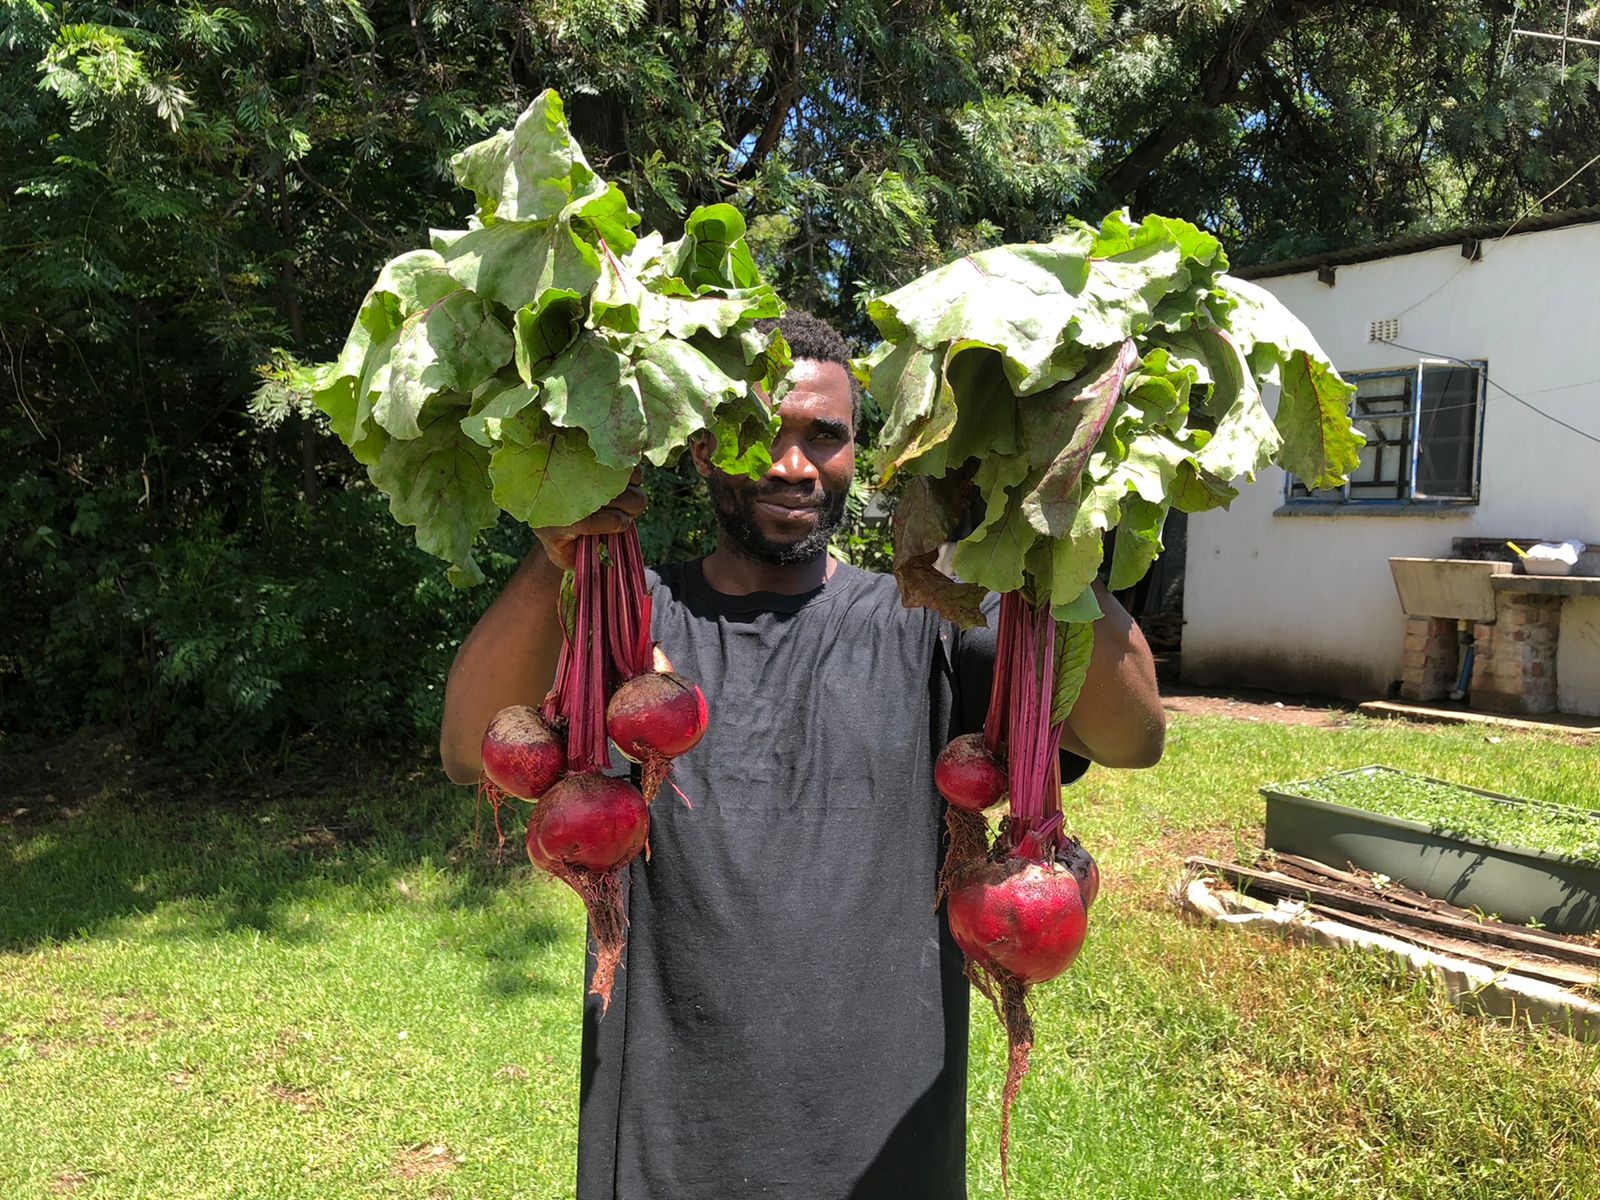
We planted garlic, potato, onions, beetroot, lettuce, spinach, cucumber, tomatoes and brinjal.
Spacing between plants is dependant on the type of plant. Tomatoes and cucumbers need to have at least 500-600mm spacing, whereas lettuce and spinach need 150-250mm spacing.
Benefits of Sandponics over Aquaponics
- Cheaper to Build as you do not require separate mechanical or bio filters
- Less Power consumption. Water Pump does not run 24/7.. On a timer for 3 hours per day only
- You can grow root vegetables such as potatoes, carrots, garlic, beetroot, onions
- Less maintenance, the microbes and beneficial bacteria do most of the work
- Can be operated manually even when there is no power for the water pump
- Can operate without fish , by simply adding nutrients and running it as a Sandgarden
On of the Most Common Questions with Aquaponics
Will the fish waste build up and stink?
Answer: Yes, the fish waste will accumulate in the furrows, but with time microbes, autotrophic and heterotrophic beneficial bacteria will convert the smelly ammonia into nitrates for the plants, and also break down organic material such as fats, proteins and carbohydrates. So no, it will not smell at all once the system reaches a good balance.
Its like having a natural garden in your backyard.
Alternative Building materials
Although we made use of fiberglass grow beds for ease and speed of installation, you could build the plant grow beds by making frames in wood or concrete and then lining it with PVC sheeting, or a fish friendly pond sealer.
The same is applicable for the fish tank.
If you use low powered water pumps and air pumps, you could run the whole system on solar, which makes it ideal for community projects or remote rural areas.
Get Building
You don't have to go as big as illustrated in our videos above. You can easily build a smaller Sandponics or Sandgarden system using small plastic containers or tanks, or even our fiberglass DIY system
What is important is for you to get started and experience the magic of Sandponics. Because of the diversity of the plants you can grow with this system, you can grow vegetables and fruits for your whole family.
If you have any questions, feel free to contact us, but first watch all our videos, they are laden with a lot of information.
Tel: 010 5927856
Email: Sales@myaquaponics.co.za